Showing posts with label storage. Show all posts

New Polish Room

Posted by Unknown on Tuesday, May 22, 2012

So I've been away because I recently moved. Now that things have settled down a bit, I should be able to get back into my routine. Before I start any nail art, I have to show you my new polish room. I had limited control over what I could do at my apartment, I wasn't allowed to paint, and if I bought new furniture pieces I would have had to lug it up a flight of stairs myself. Well at my new house I wanted to do it up and do it right! And it turned out soooooo good. I just love it! Here are some pictures for your enjoyment. I'll try to let you know what products I used or how I did it as we go along.


I painted the walls gray and added black stripes to an accent wall. To do the stripes, I just measured 6 inches apart and drew a little pencil mark. Then I placed blue painters tape down the height of the wall lining up to all of my pencil marks. It was a tedious process, but I knew that and that's why I stuck to an accent wall. ;) The bookcase is just a cheap item I bought at Target. I wanted it to have the damask pattern to the inside, so while I was constructing it according to the included directions, I altered it. Prior to nailing the back panel on, I layed it out and covered it with a patterned contact paper I also found at Target.

I got the black and metal computer desk as a freebie from my sister. I changed my desktop wallpaper to coordinate. The metal dress form was a housewarming present from when I moved into my apartment. The clock, mirror, and desk pin board were all bought at Hobby Lobby. I got the curtain from Bed, Bath, and Beyond. I plan on having it hemmed about 1/2 inch because I hung the curtain rod too low, and it drags the floor. That was not my intention! Lol

The opposite side of the room is where I have my polishing station. Completely organized and well lit from my medusa lamp and my magnifying lamp. And I love the cute little teal pillow.

I have this little table to was originally brown, but I painted it black. The lamp and the faux books were also from Hobby Lobby. The fake books actually house my shipping supplies, bubble wrap, mailers, etc.

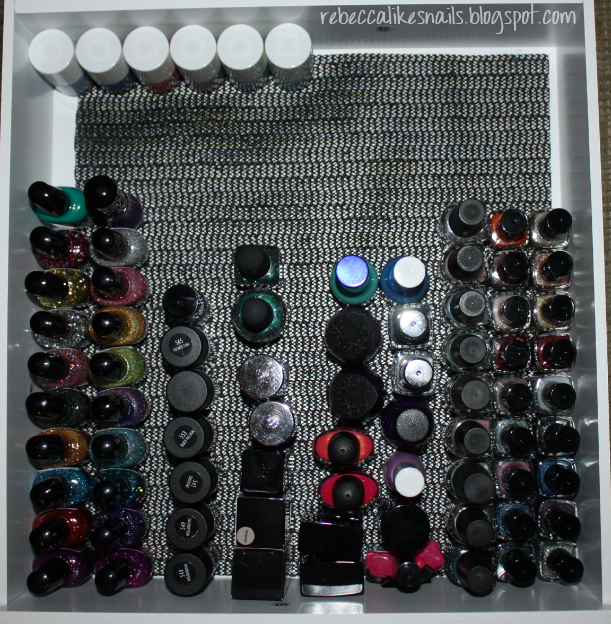
The wall rack is the same one I've had forever and shown you here. It's from the scrapbooking storage section at Michaels. The same collection that has the Melmers. It's meant to hang ribbon spools and knick-knacks, but I adapted it. It works great for polish and most brands fit either 2 bottles deep (OPI, China Glaze), or even 3 bottles deep (Essie, Barielle, Zoya). Here I have the more commonly used brands, and prettier bottles. ;)

Again at Target I bought a ClosetMaid 9 Cubeicals piece in black and then 3 of the fabric drawers in Ocean Blue. They are more teal in real life. My camera only sees blue. My little white dress used to be brown, but she got a paint job too.

On top of the Cubeicals piece I have these 3 photo storage boxes I got from Michaels. These house my seldom used polish brands and random polishes that didn't fit anywhere. Top box is back up bottles of favorite colors and others that are to swap or sell. Middle box is Revlon, Sation, and randomness. Bottom box is Sally Hansen, Wet N Wild, and Pure Ice.

My same Melmer got a makeover. I sanded/peeled off the scrapbooking paper I had on it and painted it a matching teal. I don't keep my polishes in here because it would be too top heavy when I pulled out the drawers. The Cubeicals is not sturdy enough. It would all toppled over. So instead, I have my printed pictures of inspiration in the top drawer. Nail art supplies in the middle drawer (foils, stamping polishes, striper polishes, microbeads, rhinestones.) The bottom drawer is my go to catch all. It's got my favorite nail art brushes, my clean up brush, files, cuticle pushers, clippers, nippers, etc.

In the Cubeicals unit there are some places I'm just storing random junk that isn't polish related. But I will show you all the ones that are. On the top row, far left is a white wicker basket that I already had. It keeps all of my swatchsicles.

The top row, middle space has a Scentsy wax melter. I got the white wooden "create" from Michaels for $1. And the little brown box I got when I bought a watch one time, it holds all of my stamping image plates.

The top row, far right is one of the fabric drawers that holds other commonly used products. Acetone, paper towels, lotion, sponges, & cuticle remover.

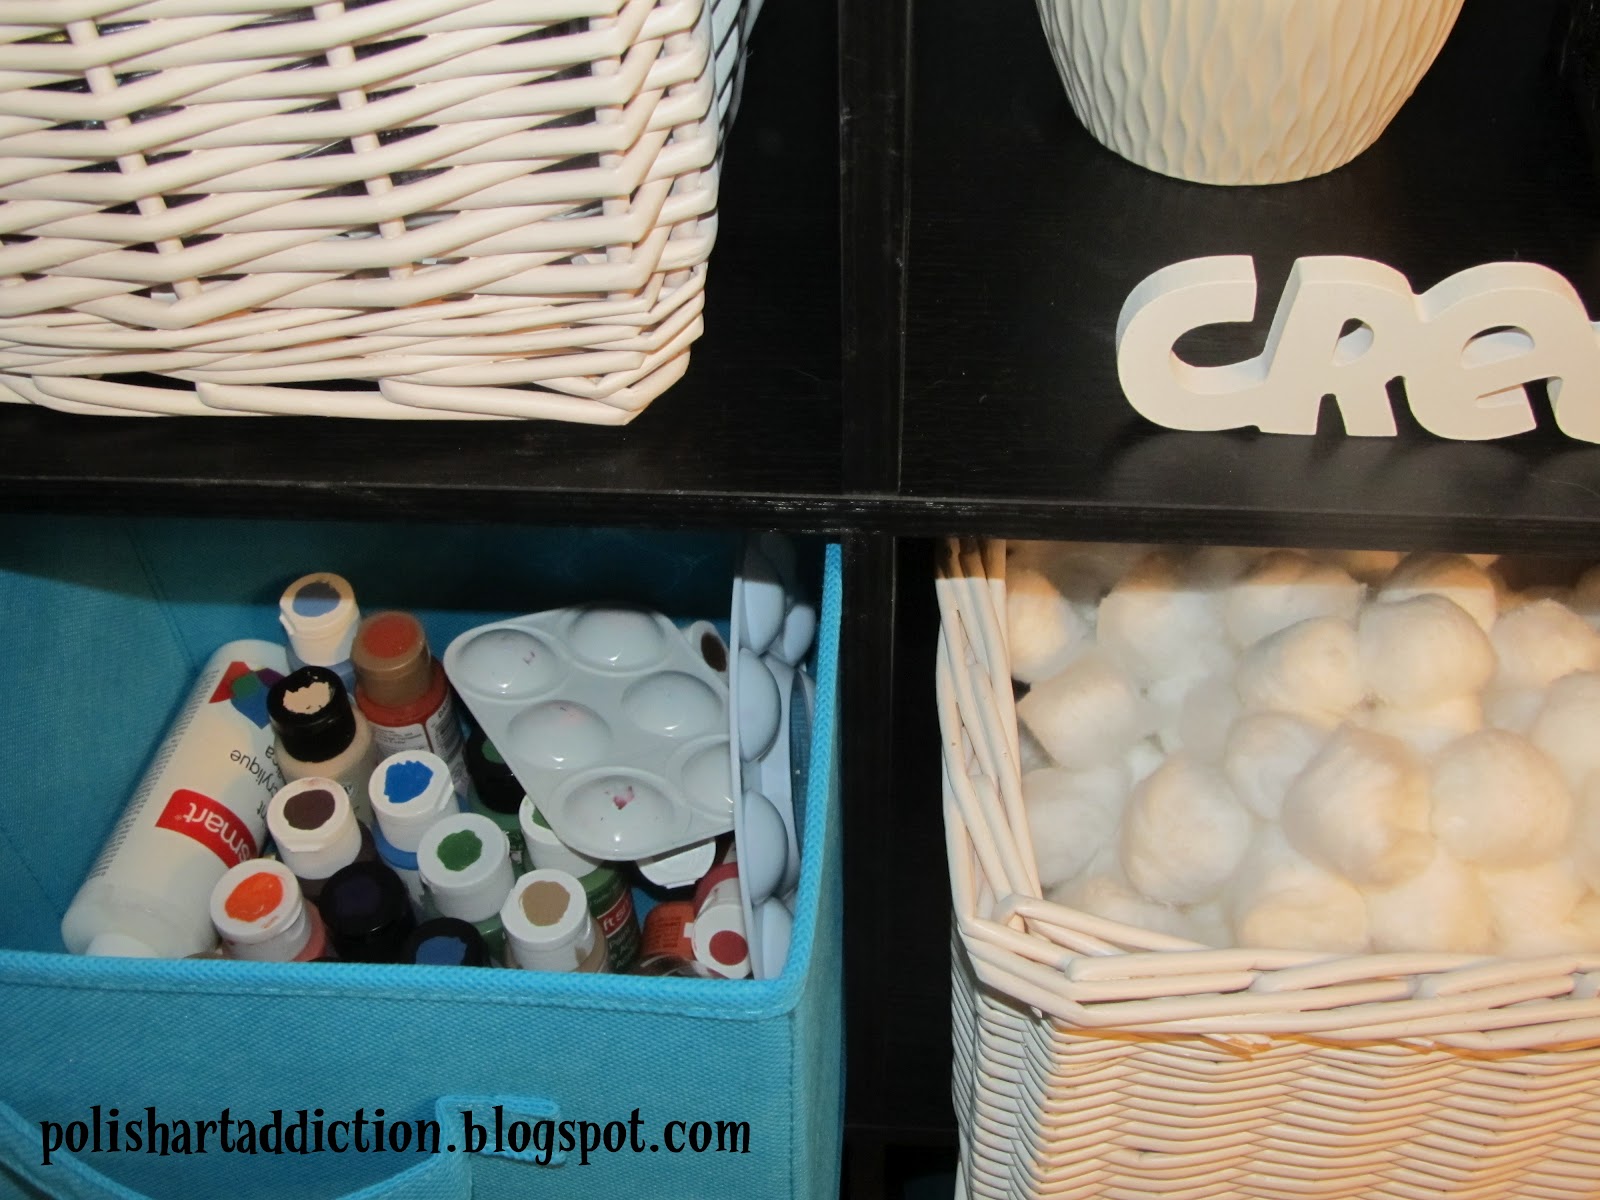
Middle row, far left is all of my acrylic paints and palettes. Middle section is another white wicker basket that holds cotton balls.
Then my desk. I looked for the longest time and couldn't find anything like what I wanted. I wanted solid black or white with a glass top. The glass top was critical because I wanted to be able to clean old polish off with acetone and not damage the surface. When I was in Target getting all of the other things I mentioned, this desk was just sitting there. A black computer desk with a glass top. On clearance for only $27! SCORE! I'm using the computer keyboard pull out tray to hold my tape dispenser, post its, spare camera batteries. Those are just clean paper towels on top for when I'm stamping.
I'm so incredibly happy with how it turned out! I could just stay in here all day long if I didn't have to work and have a life. ;) I hope you guys love it as much as I do!
More about → New Polish Room

my new and improved polish storage!

Posted by Unknown on Sunday, May 13, 2012

Good morning and happy mother's day to all you mothers out there! I hope you all have lovely days.

I recently decided that I hated my polish storage. Not the storage drawers themselves, but the way I decorated them. You may remember the post I did about it here. I really did love it but I just got tired of the four colors, especially how each drawer had two colors on it. It stuck out in the room and didn't look good.

So one day while browsing one of my favorite stores, I found a roll of wrapping paper that I knew would be perfect for my drawers.
It was still animal print - duh - but much more subtle and chic.
Check them out now!


Voila! This time, I'm really in love! They feel like they fit in the room now, they're not just a big neon piece of furniture sitting there.
If I had a room dedicated to polish I could handle the neon. But this has to be cute and functional because it is in my "rec room" - that might be a Canadian term but basically it's like a non-formal living room. It's my hang out!


Love. :)
(It was mostly easy to get off the previous papers - some came off with just a little coaxing but some required water and scrubbing. To apply the papers I used the same technique as before that I described in the tutorial.)

Now let's see what's in those bad boys.
Yesterday I showed collection bottle shots and today I'll be showing how I organize my drawers.

Left tower, top to bottom:


Drawer 1: All my frankens and indie polishes, as well as extra top/base coats, and all the things that aren't yet ready to come out of their packages. Otherwise known as "my pretties."


Drawer 2: Sally Hansen, Wet n Wild, and all those little round black tops are my Nail Art Diva stamping polishes.


Drawer 3: International drawer! Essence, H&M, Barry M, Catrice, Teeez, MNY, Hits, piCture pOlish, Flormar, Depend, p2, Hema, MaxFactor, and some Hello Kitty polishes.


Drawer 4: Milani, GOSH, Joe Fresh, and some sorta expensive things like Illamasqua, Nails Inc, Ozotic, BB Couture, Nfu-Oh, Ciate, Cult Nails, Layla, and there's also a Nubar and a bunch of CND.


Drawer 5: This drawer houses the things that will soon become frankens. It also holds the polishes I am collecting for swaps but I took them out of the photo so my current swap partner won't see them! (Hi, Tinka!)


Drawer 6: Some cheap stuff, Sinful Colors, Kleancolor, Hard Candy, Pure Ice, Revlon) and random brands I only have one of (Del Sol, Misa, Jordana, Maybelline, Urban Outfitters, Savina, NYX, Nina Ultra Pro).
I also have my Icing, LCN, Julep, Crush and Soulstice Spa polishes in here.

Right tower, top to bottom:


Drawer 1: Most of my China Glaze!


Drawer 2: Most of my OPI, and my Nicole by OPI.


Drawer 3: Orly, Finger Paints, Barielle, Essie, Sephora by OPI, and Zoya.


Drawer 4: Color Club drawer #1. In this one I keep my brights, the glitters, and all the random colors I bought individually and not in sets. As well, in the back we have a Funky Fingers and a Cosmetic Arts - these are made by the same company as Color Club so I keep them in this drawer.


Drawer 5: Color Club drawer #2. This one holds the dark colors and the pastels, as well as the two new collections I just got, and the scented glitters from Christmas are in the back.


Drawer 6: Random drawer. In the back are all the old polishes from my childhood that I can't part with yet but don't really consider a part of my "stash." I'm starting to turn them into frankens or just throw them away when they are really useless or not worth the effort of cleaning out. There's also my Elf polishes, Island Girl, LA Colors/LA Girl, and Ardene. Pumpkin and Snowman polishes, too.

There are a few things I don't keep inside my drawers - they need to be seen!
I've got a shelving unit near my melmers that displays all sorts of things, including my special polishes.


This is my HTF rack - HTF meaning "hard to find."
It houses my China Glaze OMG Collection and the other few HTF China Glaze polishes I own.
Here you'll also find my OPI Designer Series polishes, and my OPI It's Summer For Shore polishes. In the back we have the Burlesque glitters, and the two HTF glitters - Mad As A Hatter and Absolutely Alice.
Teenage Dream is there too, just because it's my favorite.


Next to that rack, I have my Deborah Lippmann polishes. (Behind that, a painting of Marilyn Monroe that I did!)


My Hello Kitty by Sephora polishes also like to be seen. They sit next to some other HK items, and off to the side you see Mark Hoppus from blink-182 peeking out from a book cover. Haha!

Well there you have it, a look at my polish storage and all the stuff inside it! Hopefully this satisfies all of you curious readers out there!


And today is the last day to vote in the Bundle Monster contest! If you've been voting, thanks a bunch!
If you've got Facebook, click HERE to go to my entry!
If you don't have Facebook, click HERE to go to my entry!
More about → my new and improved polish storage!

my DIY stamping plate storage! + tutorial!

Posted by Unknown on Friday, July 15, 2011


Hey guys! Happy Friday!

Lately I found myself seriously annoyed with my storage for my stamping plates. I have a lot of them (2 Bundle Monster sets, some Konad, and a lot of cheap ones from eBay) and I had them all stuffed into a cosmetic bag.
It was really annoying to look for plates when they were all mixed up in the bag, and if my nails were freshly painted I couldn’t look for plates because it would ruin my nails digging in the bag!

I know some people use business card organizers/binders. I bought one at Walmart, but the slots were not big enough! So I returned it.
Some people use trading card binders, but those things are really big, and I wanted something smaller.

I asked my polish friends on Polish-Aholics Anonymous how they store theirs, and some people said photo albums. Betty from Kewt-ified showed me her modified photo album. I studied hers for a while, and came up with my own way to modify one.
And now I’ll show you how!


First you're gonna need a photo album. I chose 4x6 albums and I got 2 of them because I have a lot of plates.
Each one holds 36 photos, which means that after modification, it will hold 72 plates.
I got these cute ones from Walmart and they were $1.96 each which is a great deal! They had lots of patterns to choose from.


Whatever type of album you choose, it must have pockets like this. There must be a divider between the 2 pockets.

Now to the customizing. The first thing you are going to want to do is make a cut on every page.


The cut should divide each page in half, but you must only cut the top layer.
You can do this carefully with scissors, or do it like me an use an exacto knife and cardboard.


I cut a piece of cardboard to fit in the slots. I measured my first cut and used a ruler to make it straight.
This put a groove in the cardboard and I was then able to easily cut the rest of the sheets even and straight by following the groove in the cardboard. (Don't cut through the cardboard! A light touch is all you need to cut the plastic.)
Do this to the front and back of each page.


Now you'll have something like that! 
The bottom is a pocket, and now you need to make the top into a pocket as well.
We'll do this with tape.


You want to tape the top piece to the white divider.
Use something to prop open the bottom pocket, and tape down your top pocket.
You don't need to tape from edge to edge because the plate is not going to fall through small gaps on the sides.


That's where your tape will be.
And now you're done! Fill that baby up with your plates.


Now you can easily look through your plates and find the one you want without digging around and shuffling them in your hands.


I left a full pocket in the back of each of my albums to keep the sleeves the plates came in.

You can also label your albums!


Using some black paper and sparkly silver stickers, I made labels for them. And now they are super cute.
And perfect!

This project takes a bit of time, but I think it is totally worth it and really helpful.

I hope you guys like this! Let me know if you make your own!
More about → my DIY stamping plate storage! + tutorial!

my DIY decorated melmers! + written tutorial! you can do it too!

Posted by Unknown on Saturday, June 11, 2011

Hi guys! I’m very excited to show you my newly decorated JetMax cubes AKA Melmers! I spent a lot of time decorating this and I am so happy with how it turned out.
(I am planning on showing you the contents of my drawers in the coming weeks when I receive all my swap packages.)

Are you ready to see them??


Love love love love love. 
I told Leslie I was making it animal print and she said "Animal Print?! You?! Nah!" 
Haha! How right was she?
I am a sucker for brightly colored animal print. It is no secret.


I put little squares of black glitter paper into the handle just to add a little more glitz :)


I am so happy I did this. It is so freakin' cute.


:)
Should I want to spice it up a bit, I can also arrange it this way:


I prefer it the way I have it now but sometime I might want to change it up.

Do you guys love it as much as I do? 

Now I just need to fit all this:

And all this:


Into the drawers. Haha. I'm probably going to keep the blue tower next to my melmers just for bigger things and supplies and stuff.

Oh, and you'll also want some shelf liner so your bottles don't slide around:


I bought 2 rolls of it at the dollar store for $1 each. 


And now the best part, you can do this DIY decorating project too!

I’ve written in-depth instructions in case anyone else wants to do this but doesn’t know how.

You will need:
-Paper of your choice. It should be scrapbook paper or thin cardstock. You can use just one or as many patterns as you like. I couldn’t find anything long enough to fit the face of the drawer, so I had to improvise by doing two-toned drawers. The drawers are about 13.5 inches long. Look for paper that big. If not, find coordinating paper and do what I did!
-Mod Podge. I used the Matte version which I think is best for this project, as the rest of the cube is a matte finish. You can also use glossy. Your choice.
-A brush or foam brush. A foam brush leaves less brushstrokes, but I didn’t have one. My brushstrokes aren’t bad. I think it is a cool effect.
-An old gift card, for smoothing the paper.
-Pencil, ruler, exacto knife, cutting board – for measuring and cutting your paper.
-Sand paper or large nail file.
-Paper towels and tissues for wiping up messy Mod Podge.
-Patience.

Step 1: Cut out your papers. It is best to line them up against the face of a drawer and figure out how big they need to be. Making it a bit wider on every side than you need is a good idea. You can trim it after. Just a few millimeters too big. Cut all your papers first.
Step 2: Make a template for the screw holes. Mod Podging the paper over the screw holes is obviously going to hide them. To be able to find them again, I made a template. I lined up a piece of paper with the top corner of one of the drawers, and then poked through the paper into the holes. That is your template. This way, when they are dry, you are able to line your template up to the drawer and poke through your decorated paper into the holes.
Step 3: Begin Mod Podging. You want to put a medium layer onto the front of the drawer, and then put a thin layer on the back of your paper. Your paper will curl at first but it flattens easily. You smooth the paper onto the drawer and line it up so it is all covered. Remember, leaving room around the edges is a good thing because you know you won’t miss any spots. At first it will slide around easily but it dries quickly. Pay attention to the edges and corners.
Step 4: Smooth out the wrinkles. This is how you avoid bubbles and wrinkles. You take the old card and start scraping over the whole drawer. Keep scraping more than you think is necessary just to make sure. Again, pay attention to the edges and corners. Glue will probably come out at the edges but you can just wipe that up. Once it is all adhered, you leave it to dry for a few hours. At least one hour.
Step 5: Your drawer must be totally dry to move on to this step. Take your exacto knife and very slowly/carefully cut away the excess paper around the edges. This is easy to do but you need to take it slow. You can rest the blade along the sides of the drawer and just slice off the overhang.
Step 6: Sand the edges. You want to sand down, away from the front of the drawer to avoid lifting the paper. You don’t have to sand much, just enough to remove rough edges from the paper and any dried glue on the edges. I used a large nail filing block for this which was really convenient.
Step 7: Pop the holes for the screws. Use the template you made, line it up, and pop through the paper with something pointy like a very small dotting tool or toothpick.
Step 8: Top coat of Mod Podge. Make sure your layer underneath is very dry. If you live in a hot climate you might want to wait a day or more. Make sure you don’t get any bristles from the brush or anything into your layer of Podge because it will be visible in the end.
Step 9: Let it dry. Again, hot climates will need longer drying time. Pop holes through the second layer of Podge and then attach your handles.
Step 10: Admire your work!!
(Optional Step 11: Cut pretty paper rectangles to fit into the windows of the drawer handles.)

I hope this helps at least one person. Haha!
I got my paper (thin cardstock) at Michael’s for $3.99 (24 sheets) and my Mod Podge Matte formula at Walmart, $5.69 (8 ounces.) My glitter paper came from Michael’s and I believe one sheet is $2.99 or less.
If you decorate your melmer, show me!! :)
More about → my DIY decorated melmers! + written tutorial! you can do it too!