Home » Posts filed under V-gap
Posted by
Unknown on Wednesday, March 14, 2012
Hello everyone! For this post I've got nude V-gaps to share with you, I made them yesterday when I was going for a "dramatic" look haha. To make the V-gaps I used tape as usual, I cut out triangles with acute angles to make my nails seem a little bit longer. ;-) The polish to go with the design was Essence Fateful Desire, a vampy red jelly/creme. It did need two coats to cover, so I couldn't remove the tape immediately after one coat of polish, which I normally do for nice, crisp lines. But I kept both layers thin so in the end it still turned out neat enough. :) And since I wasn't wearing a basecolor, I could place the tape right away, which made this mani pretty quick to do as well, I like that! :-) What are your thoughts on this mani? Would you give this a try yourself?
Posted by
Unknown on Thursday, December 29, 2011
Hi everyone! :) For this post I have a glittery V-gap mani to share with you. As my base color I used two smooth coats of the lovely murky green China Glaze Westside Warrior. Normally I love to combine Westside Warrior with a gold like I did in
this post, but this time I wanted to try something different so I picked multi-colored Rain Glitter from Amour for the V-gaps. It's a very suitable polish for tape manis, as the glitters are very dense, so just one coat was enough to cover the taped shapes.
In the bottles, Rain Glitter and Westside Warrior looked amazing next to each other, on the nails however I expected the glitter to pop more against the green so the V-shape would be more visible. I'm really enjoying Rain Glitter though, I have such a huge weakness for anything with lots of color, especially when they're this sparkly... But I'm sure many of you feel the same way ^^
What do you think of today's tape mani?
Posted by
Unknown on Friday, September 30, 2011
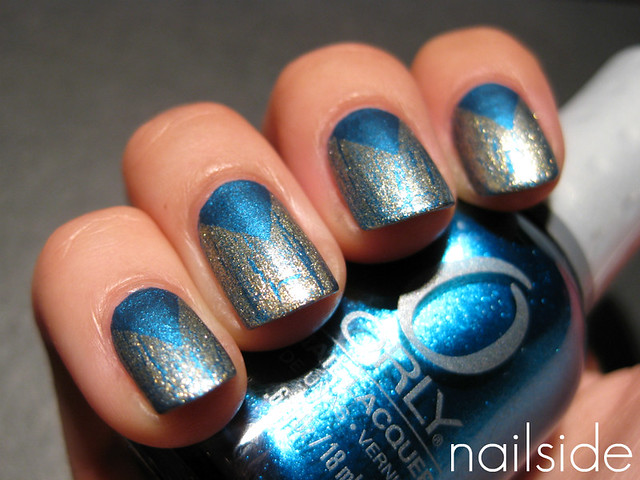
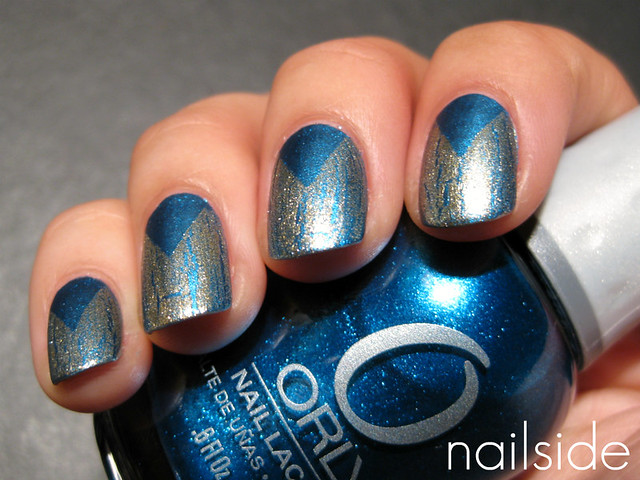
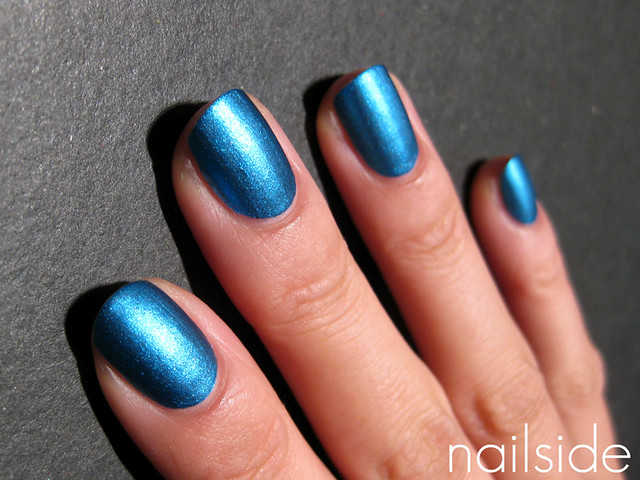
Hi guys! Yesterday I showed you my post with
Orly Sweet Peacock, today I have the V-gap I made with it. First I mattified it with Essence Matt topcoat, which made it look stunning. Sweet Peacock is so sparkly that even with a soft, matte finish it still sparks like a gem. For the V-gap I placed triangles to cover up the blue and I applied OPI Gold Shatter on top. Gold Shatter is another new polish that arrived in my mailbox this week and I couldn't wait to try it out. Though blue and gold is always a win in my book, I'm not exactly crazy about this look. I like the colors but maybe there's just too much going on. Oh well, next time better :) What's your opinion?
Posted by
Unknown on Tuesday, August 30, 2011
Hi guys :) Good morning. Today I'm going to show you part 2 of my
previous V-gap experiment. I added a lot of silver (China Glaze Millenium) to the design, but that just didn't work, haha. So I added a tiny bit of red to make it better. I used a jelly for it, that's why you can still see the silver V-moon underneath. Finally a layer of matt topcoat et voilà... Thanks for watching!
 |
| Before |
Posted by
Unknown on Monday, August 29, 2011
Hi everyone! I hope you are all doing fine. As you may have noticed, I haven't been posting daily anymore. It's because I've just started with my bachelor Communication and Multimedia Design, which will be my main priority from now on, so I won't be able to spend a lot of time on nails or post as much as I used to. I'm sure going to miss working on this little blog but I will keep posting, just not as often as I'd like to. So that was my little announcement. Now let's show some nails :)
This is a mani from the vault. I was experimenting a bit, trying to find a new design, with the V-gap as my starting point. I used China Glaze First Mate as the base color and the turquoise is Essence Bella. The finished V-gap could use some shimmer so I added China Glaze Jitterbug to the tips, which made it look more spectacular :) After this I updated my nails again, hence 'part 1' in the title, how part 2 became will be shown tomorrow... ;) Going to bed now, have a great night!
Posted by
Unknown on Wednesday, July 13, 2011
(This is a scheduled post, I'm on vacation!)
Hello guys! When I posted
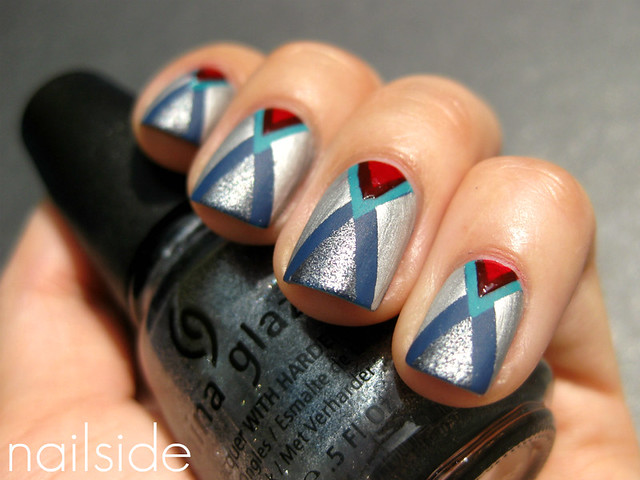
this mani a while ago, I never showed you the rest of the experimenting, I completey forgot I had these pictures! In total I already had two V-shapes in my design, but that wasn't enough for me so I added yet another V, upside down, which left some space for me to place a rhinestone in. I normally don't like rhinestones very much, because they can easily look tacky in my opinion. But in this case I thought it might add that little bit of oomph to the whole, what do you think of it? And what are your opinions on rhinestones in general? Have a nice one :)
 |
| Before the rhinestones |
Posted by
Unknown on Sunday, July 10, 2011
You guys! It is so late right now. I've been packing and setting up scheduled posts for you all day, because tomorrow I'm on vacation! Hense the temporarily goodbye thing, nothing big to worry about though :) So I'll miss you guys a lot! I'll be gone for about a week and in the meantime you can enjoy the scheduled posts. But I'll really miss not being able to share those live with you
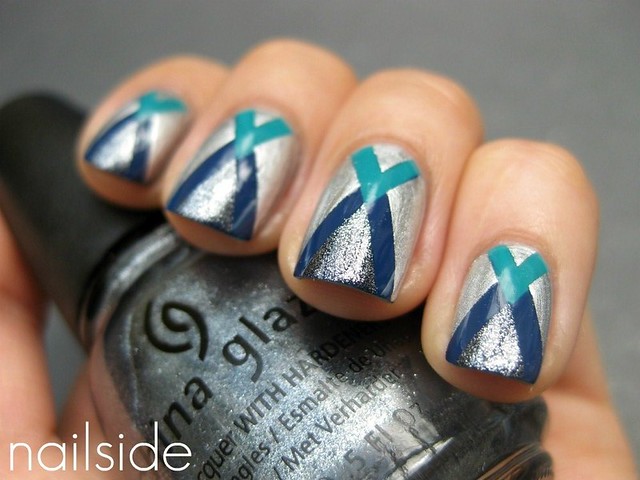
About the nails, I made this V-gap mani using China Glaze Millenium and First Mate, the same colors I used in the
first mani I shared with you here, as a little tribute. I guess I was a bit proud of Nailside haha :) Anyhow, I just love those two China Glazes together and I think they're meant for each other. Period.
So I'll miss you! I hope you'll have a great week as well and I look forward reading your comments when I get back. Love!
Posted by
Unknown on Tuesday, July 5, 2011
Hi guys, since the
vampy V-gap look from a little while ago, I've been doing more V-gap designs lately and today's post is one of them. I love the simplicty and elegance of V-gaps and how easy they are to achieve. The way I make them is by using triangle shapes cut out of tape but I think doing them freehand is quite doable too, though I've never tried. So either you want to practice your freehand or taping skills for the first time, I think the V-gap design would be a great one to start with.
For the pictured look I made a variation on the standard V-gap by adding two lines along the gap, creating a second V-shape. I used OPI Russian Navy as my base color and Essence Romeo for the top color. My boyfriend's opinion on these nails? "Oooh, they look like Transformers!" Lol, I love him :)
Thanks for stopping by again and enjoy the rest of your day!
Posted by
Unknown on Friday, June 24, 2011
Hello everyone! For this post I'd like to show you another tape mani I did this weekend. I was wearing OPI Mrs. O'Leary's BBQ and the next day I wanted to spice it up, so this is what it became. It's not Sophy Robson's famous V-gap, but still a V-gap right? ;) It wasn't an easy choice finding a color other than black to suit the burgundy red of Mrs. O'Leary's BBQ, but then I remembered saying in a
previous post how China Glaze Jitterbug just goes with any color, so this was my chance to prove it, haha. I think Mrs. O'Leary's BBQ looks really pretty with Jitterbug and that the whole design looks kind of editorial. I also mattified it to see what it would look like and I still haven't decided yet which version I like better... Help me out! Haha.
Thanks for reading! :)