Home » Posts filed under Metallic
Posted by
Unknown on Sunday, May 27, 2012
Hello dear readers! Last week was a very busy week for me, but I did manage to prepare a glamorous guestpost for the lovely Danny from
Polish Chest. Please check out the full post
here!
Posted by
Unknown on Thursday, May 10, 2012
Hi everyone! I hadn't done a freehand design in a while so today I made a detailed tribal pattern on a few accent nails. The basecolor is the lovely Westside Warrior from China Glaze and I used a gold striper polish (Janet #115) for the nail art. Though it looks pretty detailed it was really simple to make. I drew a few stripes on each nail and then I filled in the bigger stripes with dots or zigzags, that's it! I hope you like it. :)
Posted by
Unknown on Saturday, May 5, 2012
Hi everyone! :-) For today's short post I have this accent nail mani to show you. This afternoon I did a fresh mani with my favorite purple cream:
OPI Funkey Dunkey. A few hours later I wanted to add a little eyecatcher, so it became this silver
lightning bolt. It's a small addition, but just what I needed to complete this mani. ^^ Thanks for stopping by!
Posted by
Unknown on Tuesday, April 24, 2012
Hi everyone! For this post I have chic chevrons to show you, in a quite unusual color. I'm talking about my basecolor which is Heavenly from the Dutch brand Koh. Heavenly is a dusty pinktoned beige creme. It's one of the few nude colors I've ever worn. I know nudes are very popular these days, but I never really payed attention to them before since I like bright colors on my nails so much. Then Koh kindly sent me Heavenly (among other polishes) for review and I'm glad they did! I never thought I could like nudes a lot but I actually loved Heavenly, and wore it for several days which is quite long for me. Also the formula and application were really nice. Because of the light color I expected it to be chalky, but it applied like butter and covered in two coats.
After two days I decided to add nail art to my calm mani. I always think dusty pinks look really chic with a hint of black or gold, so I used both of them in these chevrons which I made with tape. First I made the outer black chevron, later I added the smaller gold one and then another smaller black one. The polishes I used for the job were Color Club Where's The Soiree? and China Glaze 2030, both dry extremely quickly which saves a lot of time when you're doing a tape mani. :) Thank you for reading!
Koh Heavenly was sent to me for review.
Posted by
Unknown on Sunday, March 11, 2012
Hi everybody! I hope you all had a great weekend. My nails are still quite short, but I'm actually very comfortable with this length. I think they look edgy and also my polish lasts so much longer on these shorter nails! I've been wearing Color Club Where's The Soiree (the black) for three whole days now and there's not a single sign of tipwear. A year ago I wouldn't really have cared about the wearing time, since I changed my nail polish daily back then, but now that life's busy again I certainly don't have the time or energy to do that anymore. Anyway, after three days of black I really needed a change, so I went for a trusty tape mani. :) Nothing too difficult though, basically the design consists of one big and one smaller rectangle. First I used China Glaze Adore, a wonderful light blue metallic, then I made the smaller rectangles with Where's The Soiree again. So a quite simple design that reminds me of little windows when I look at my nails. ^^ Thanks for reading!
Posted by
Unknown on Friday, March 2, 2012
Hi guys! Today my blog is exactly one year old! I can't believe how fast everything went, time sure flies when you're having fun. ^^ Thank you all so much for visiting and sharing your comments, I hope I can do this for a long time. :-)
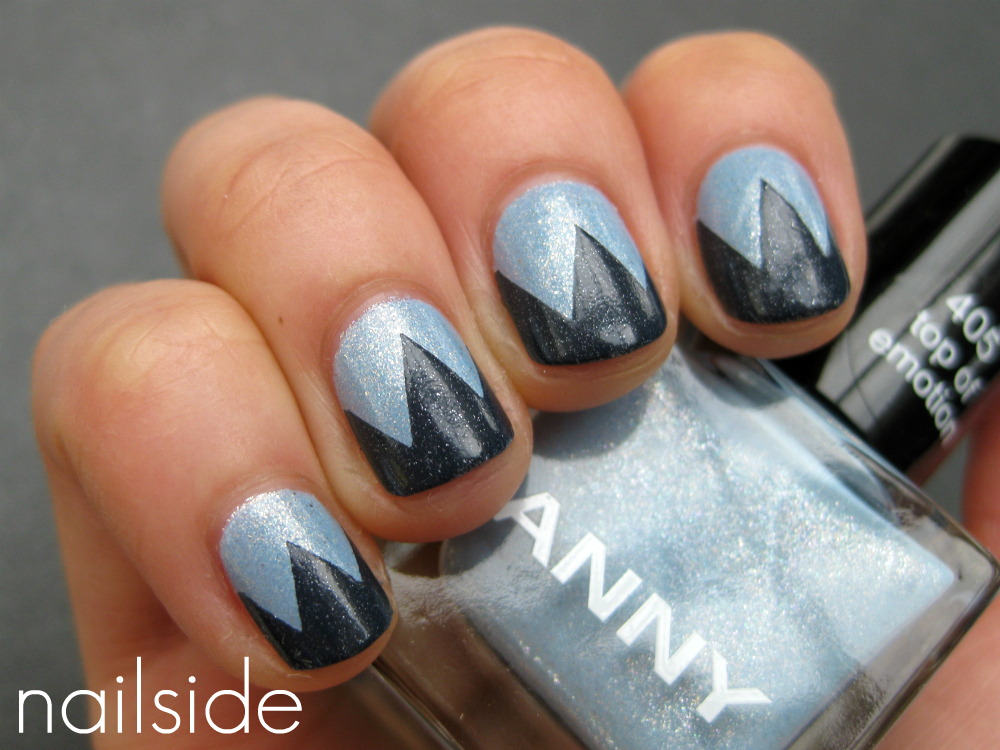
For this special post I made a blue and gold tape mani. I did have to file down all my nails because I had a deep tear in one nail. And though I don't like my nails this short, I decided to embrace my little nubbins anyway because how can I not share the nail art I made with you! ;-)
The lightblue with shimmer is called Top Of Emotion from a new brand called Anny. I'll have to make an individual post for Top Of Emotion some time, because it's so pretty! I was already wearing it for a day, so I could immediately start placing the tape strips for the
zigzag pattern I was initially going for. I already liked the result after one zigzag with Essence Into The Dark, so I included a picture of that as well. :)
But I couldn't stop there haha, so finally I added a hint of gold with H&M Golden Treasure. As you can see, the end result is a bit different than my usual
zigzag manis, instead of repeating the zigzag shape with the third polish, I just did a chevron so lots of the darker blue stays visible. :-) I hope you guys like it! And thanks for reading. ^^
Posted by
Unknown on Tuesday, January 10, 2012
Hello dear readers :) This post I'd like to share this cloud mani with you. The red I've used is China Glaze Phat Santa, I bought it last Christmas in a set with Jolly Holly and Party Hearty, which I now happily own! (For some really strange reason I thought I didn't need Party Hearty when it came out in 2010, so weird, because it's so pretty!) I'd worn Phat Santa on its own for a day, but the next day I already had subtle tipwear on some nails, so that's when I applied the layered cloud look to cover up things. Another reason why I love this design ;-) The silver and black are China Glaze Millenium and Color Club Where's The Soiree? respectively, two of my most often used polishes.
I've received many requests for a tutorial for this cloud design, so you can expect it soon :) In the meantime you can read how I make the pattern in
this post. Thank you for reading!
Posted by
Unknown on Monday, December 26, 2011
Hello everyone! I hope you're having a merry Christmas with your loved ones. This year I'm rocking this star pattern that I made with a new image plate from Essence. It's only available in a set including a stamper and scraper, which I already have, but I really wanted the star design.
The star shapes I have on other patterns are quite small which makes them harder to work with and less recognizable. (And besides,
€3 for the whole set is a pretty good deal!) I used Color Club Where's The Soiree as my black, as usual, and the gold is China Glaze 2030. This look isn't very Christmassy per se, but I love it anyway. So much that I might even wear it again for New Year's Eve ^^ Happy Holidays!
Posted by
Unknown on Tuesday, December 20, 2011
Hello everyone! Recently I posted my
second Holiday tutorial, which shows you how to make a traditional Christmas tree shape. But for this tutorial I have an abstract take on the Christmas tree, for the more modern nail art fans who are looking for something different. All you need is two polishes, tape and something to act like your tree topper. I used a rhinestone, but you could also use one larger (star shaped) glitter, a sticker, a stamping design and so on. Be creative ;-)
 First apply your base color (with a basecoat underneath) and let it dry completely. If needed use a fastdrying topcoat to quicken the drying.
I used a fine glitter as my base color to make it more festive, but you can also use a regular cream, a subtle shimmer polish or one with a foil finish etc. Just make sure it's not too dominating, because you want to keep the Christmas tree the center of attention.Then place the small strips randomly accross the chevron to form the garland. Important is to remember the order in which you've placed them, for a quick removal and neat result afterwards. With opaque tape this shouldn't be a problem, clear tape on the other hand... To make it easier with the latter, you can place the tape strips per direction. So first apply the ones going in one direction (upper left for instance), then the strips going in a second direction (upper right). All you have to remember now are the ones lying on top.
When all strips are in the right position, press them down firmly and apply your layering color.Then right away, carefully peel of all the pieces of tape. Try to remove them individually if you can, because this will create crisper lines. When you're done, give your design a little time to dry.At last, finish your design with a sparkly tree topper and seal your work with a layer of topcoat. Tada!
Finally some useful tips:
- For my tape manis, all I use is regular stationery tape. (For this particular tutorial I used painters tape for better visibility.) But you might prefer something else, so just experiment with different sorts of tape to figure out what works best for you.
- For your base color you can use any polish you like, however one-coaters will allow you to place the tape much sooner because those are usually fast drying. Of course you can also quicken the drying of polishes that require several coats to cover, by applying a fast drying topcoat. (I use Seche Vite).
- Your layering color(s) can be either a one- or two-coater. Because you've already applied a base color, most polishes that usually take two coats to cover now will do with one.
- Though I mention cutting the tape strips as step 2, I admit it is safer to cut before applying the base color. However, if you've learned how to cut the tape without having it touch your polished nails, it can save you a lot of time.
- You might want to leave the cut strips somewhere else than the edge of your desk/table, to prevent them from getting stuck to the surface while you're busy. You do not want to have to peel them off with your freshly painted claws!
- Apply your top color in one thin (but opaque) coat, this will create crisper lines.
- When you're removing the tape strips, try to remove them individually, if you can, because most of the time your design will come out neater this way
- Using tweezers to remove the tape strips can prevent your freshly painted nails from getting smudged.
- It's not always necessary to start all over if you've messed up your design, often a little touch-up with a nailart brush can solve the problem.
- If you want to use a matt topcoat, use a regular one underneath. My experience with matt topcoats is that they smudge the design very easily, even when it's completely dry. Applying a normal topcoat first will prevent that.
- Moisterize your cuticles afterwards, because the tape can really dry out your skin!
- You can practice this tutorial on your old mani that you applied a day (or more) before. That way it's certain that the base color is dry.
- Have fun and practice makes perfect ;)
I would absolutely love to see your attempt on my design, so feel free to leave a link to your creation in the comment section!
Polishes I used in this post are China Glaze Mistletoe Kisses and 2030.
Posted by
Unknown on Saturday, November 5, 2011
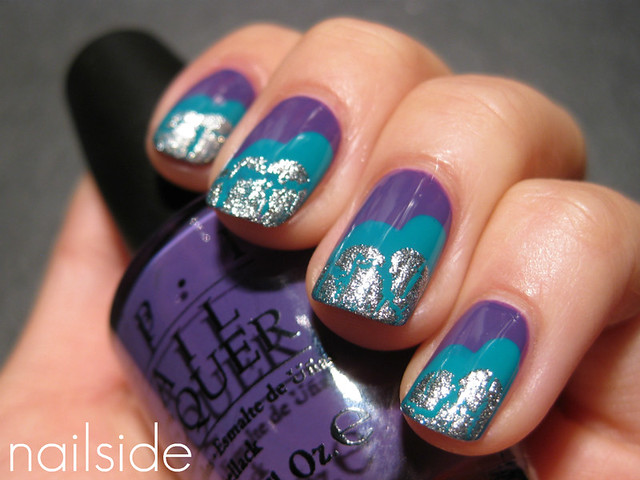
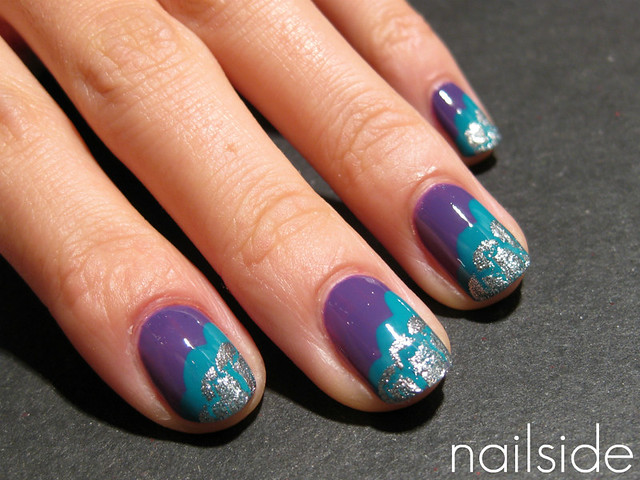
Hello everyone! I was in the mood for some funky nail art tonight but I didn't feel like spending too much time on it. And that's how I came up with these "funky clouds" you're looking at. I'm still no good at making up names for designs so don't make fun of me haha :P I started with two coats of
OPI Funky Dunkey and then I applied Essence Bella on top in three quick strokes that form the cloudy shape together. After it had dried I repeated the steps a bit closer to the tips with OPI Silver Shatter, a layer of top coat and there you have it! I think it turned out pretty cute ^^ And I can't wait to use it with other color schemes. Hope you guys like it too! Good night :)
Posted by
Unknown on Monday, October 24, 2011
 |
| Eeek! Tipwear already... |
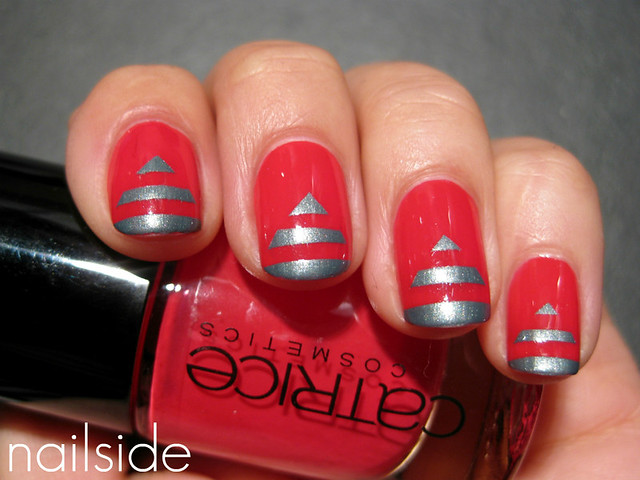
Hi everyone! These pyramid chevron tips were made with Catrice Raspberry Fields Forever and Essie Fair Game. Both polishes are amazing to work with. Raspberry Fields Forever is a bright folly red, which has a pink hue that's much better visible in real life. It has the great formula and easy application that I'm used to from most of Catrice's creme polishes, I only used two coats and a layer of Seche Vite, shiny! Because Fair Game has that hint of blue that makes the polish so special, I thought it would look nice next to the pinkish Catrice. I just love the combination of pinks and blues, no matter how subtle ;-) I've never worn Fair Game as a full mani and question if I ever will, because as much as I like it, I just think it works better as an accent next to other colors. At least, on my skintone that is, I bet it would look gorgeous on people with a nice tan!
Posted by
Unknown on Thursday, October 13, 2011
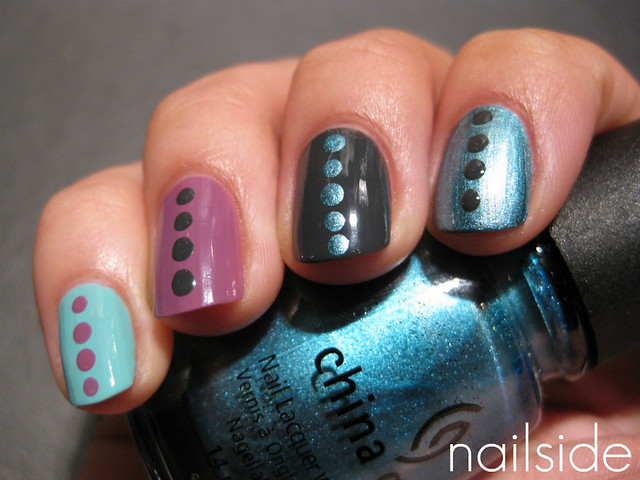
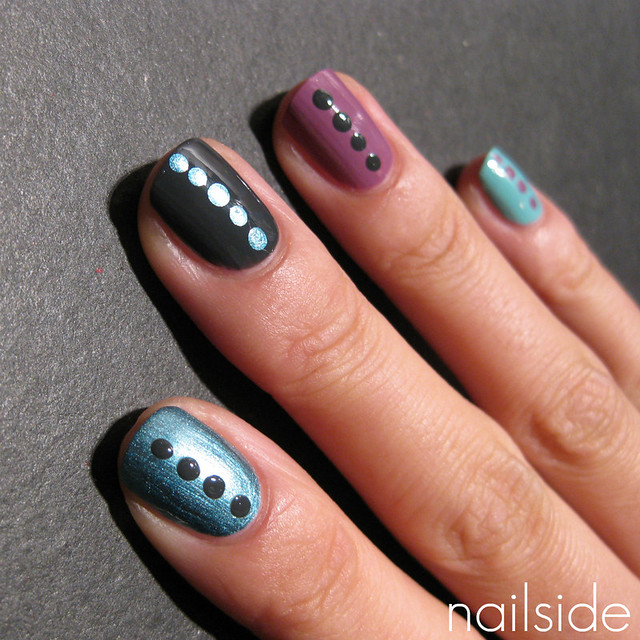
Hello nail polish friends! Today I decided to practice some dotting. I envy those who can make perfect, even-sized dots, like the talented girls from
Emerald Sparkled,
Another Bottle Of Polish and
Rebecca Likes Nails. Click on the links to see some amazing dotting manis they made, too gorgeous! My own attempt was very modest though, but definitely something I would wear again. I love the big impact of dots and how they can be achieved with little effort. The polishes I used:
China Glaze - For Audrey
China Glaze - Concrete Catwalk
China Glaze - Adore
Color Club - Uptown Girl
In case you're wondering, I used the same colors for my thumbs as the one on my pinkies ;) Thanks for reading!
Posted by
Unknown on Sunday, October 9, 2011
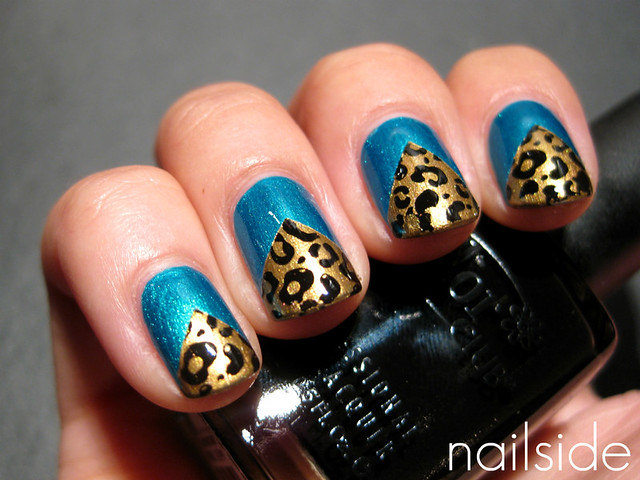
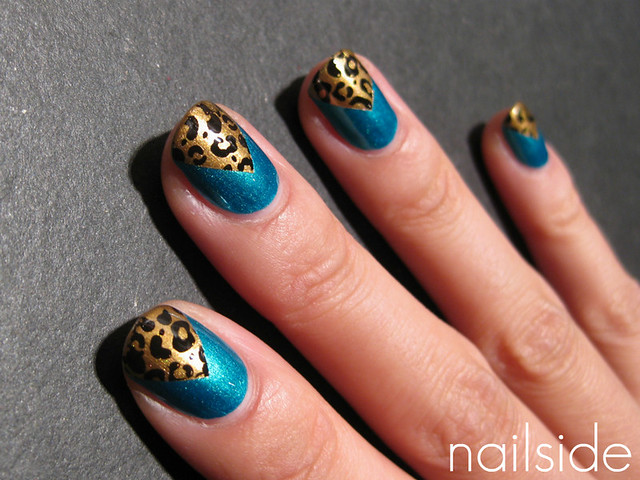
Wow! This look so isn't me, hahah. But once I had the idea I just had to make it reality. I used tape to make the chevrons, then I added H&M Golden Treasure for my gold background and finally I used konad plate M57 for the leopard print. Normally I suggest people to remove the tape right after applying the polish, to prevent the polish from sticking to the tape, but this time I ignored my own advise. But it turned out alright, as you can see :D I applied very thin coats and then after I stamped, carefully removed the tape strips, one by one. The pretty blue metallic/shimmer is Sephora's Summer In Bangkok, my favorite Sephora polish after
It's Time To Rock. It's actually more turquoise in real life, very pigmented and unfortunately also stains so bad! That's why I'm wearing two layers of base coat underneath... Anyway, would you wear this wild design? Or does it scare ya? ;)
Posted by
Unknown on Tuesday, October 4, 2011
I've posted about
this polish before but I think it deserves another look. It's one of my all time favorites for many reasons. One coat if you're careful & it dries super fast! If you need to get out the door fast China Glaze Millennium is an excellent choice!! This is one coat without topcoat which it doesn't need. You have to avoid brushstrokes but a little practice makes application very easy.
Thanks for reading!
April
Posted by
Unknown on Friday, September 30, 2011
Hi guys! Yesterday I showed you my post with
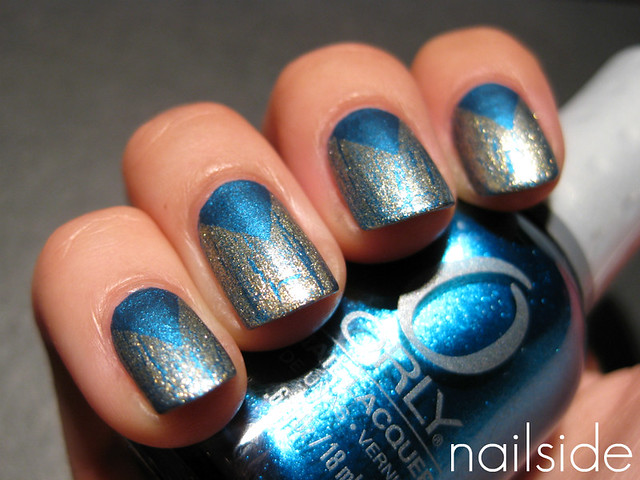
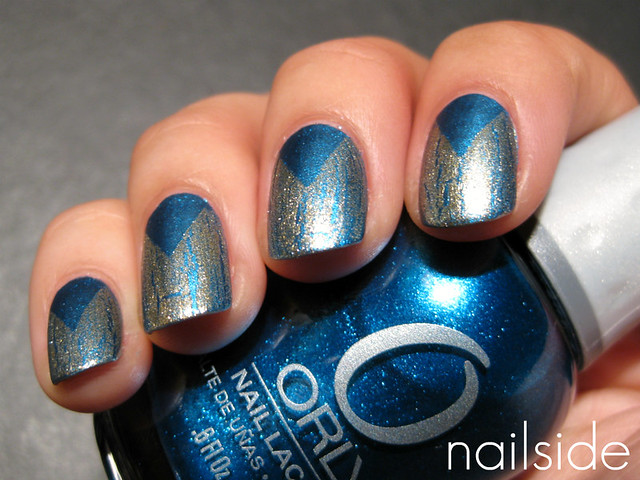
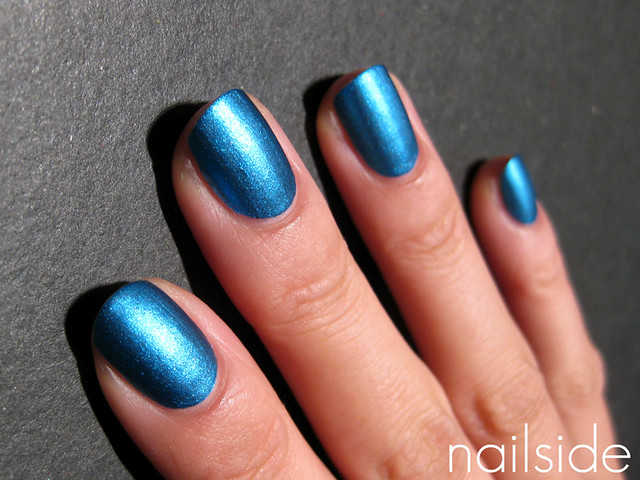
Orly Sweet Peacock, today I have the V-gap I made with it. First I mattified it with Essence Matt topcoat, which made it look stunning. Sweet Peacock is so sparkly that even with a soft, matte finish it still sparks like a gem. For the V-gap I placed triangles to cover up the blue and I applied OPI Gold Shatter on top. Gold Shatter is another new polish that arrived in my mailbox this week and I couldn't wait to try it out. Though blue and gold is always a win in my book, I'm not exactly crazy about this look. I like the colors but maybe there's just too much going on. Oh well, next time better :) What's your opinion?
Posted by
Unknown on Thursday, September 29, 2011
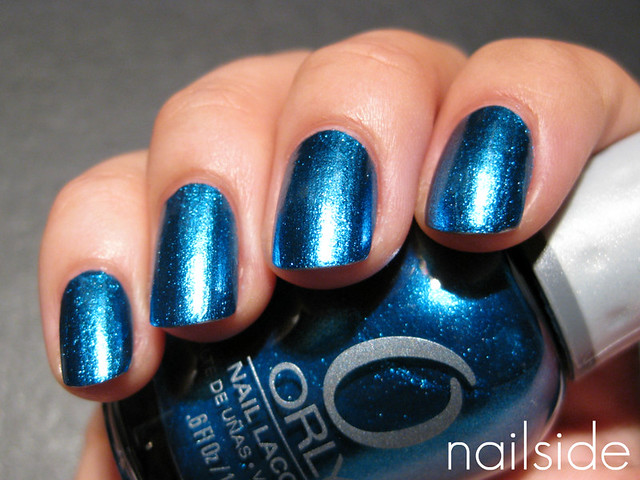
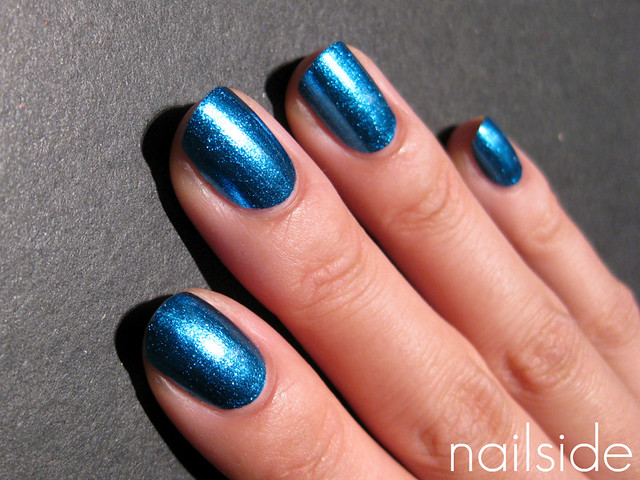
Hello everyone, this blue beauty you're looking at is Orly's Sweet Peacock from the Birds of a Feather collection. The moment I saw the promo pictures, I knew I needed this baby in my life. It's blue and a foil, can't say no to that ;-) It's just as pretty as I'd expected... A gorgeous, electrifying, shimmery, medium blue. It only needs two coats for full opacity, but it does dry a bit gritty, so I'd recommend using a fast drying topcoat, also to speed up the drying.
Besides Sweet Peacock I also bought Lucky Duck from the same collection. I haven't swatched it yet, but it looks really good based on the bottle, so I'm sure it won't be long till it appears here :) Which polish(es) did you get from the Birds of a Feather collection?
Posted by
Unknown on Tuesday, August 30, 2011
Hi guys :) Good morning. Today I'm going to show you part 2 of my
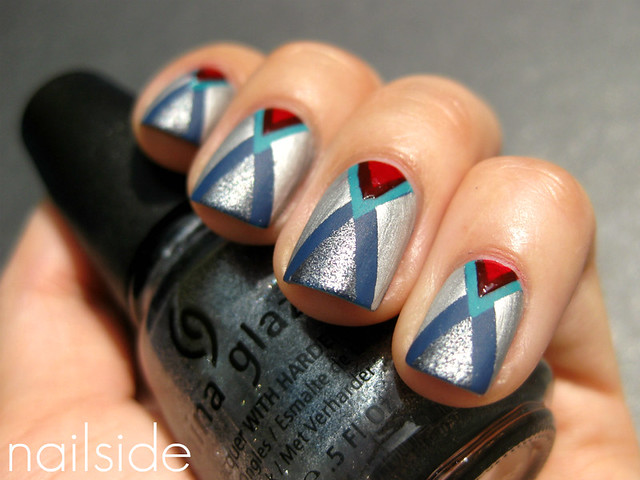
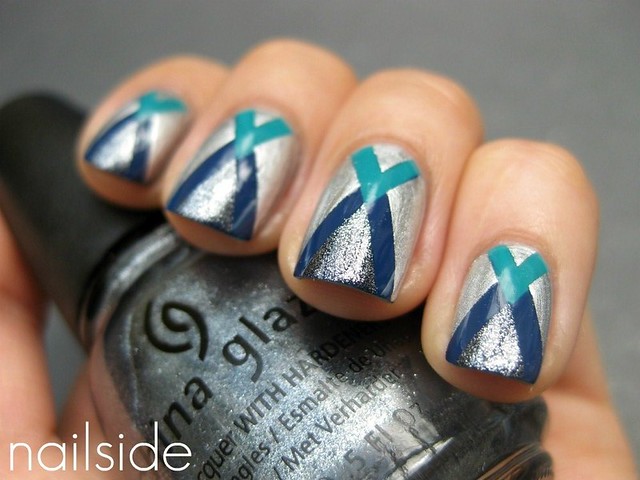
previous V-gap experiment. I added a lot of silver (China Glaze Millenium) to the design, but that just didn't work, haha. So I added a tiny bit of red to make it better. I used a jelly for it, that's why you can still see the silver V-moon underneath. Finally a layer of matt topcoat et voilà... Thanks for watching!
 |
| Before |
Posted by
Unknown on Wednesday, August 17, 2011
Hi everyone! For today I want to show you an
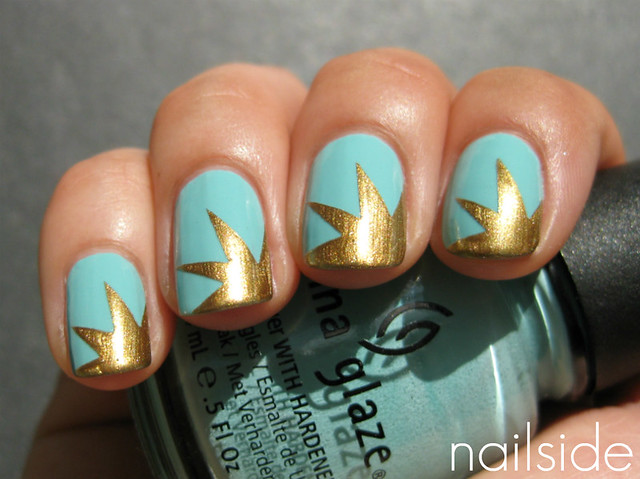
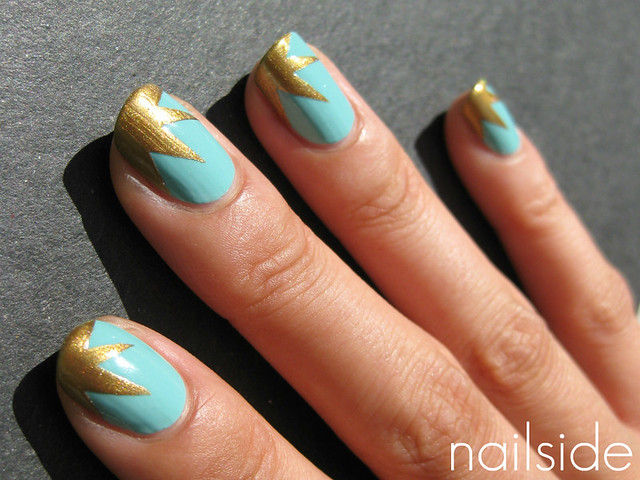
explosion mani. I had already worn China Glaze For Audrey a whole day and the next morning I decided to add someting special, using tape. I wanted to pick a gold to go with For Audrey and usually I'll just grab my favorite gold 2030 from China Glaze, but then I stumbled upon H&M's Golden Treasure, which I actually thought was better for this mani because it's darker, so it creates a bigger contrast with the soft blue then 2030 would have. I'm happy with the end result, but when I see blues and gold together, it's hard for me not to haha. Love those colors together :) Thanks for watching and have a nice day!
Posted by
Unknown on Wednesday, July 13, 2011
(This is a scheduled post, I'm on vacation!)
Hello guys! When I posted
this mani a while ago, I never showed you the rest of the experimenting, I completey forgot I had these pictures! In total I already had two V-shapes in my design, but that wasn't enough for me so I added yet another V, upside down, which left some space for me to place a rhinestone in. I normally don't like rhinestones very much, because they can easily look tacky in my opinion. But in this case I thought it might add that little bit of oomph to the whole, what do you think of it? And what are your opinions on rhinestones in general? Have a nice one :)
 |
| Before the rhinestones |