Home » Posts filed under Stripes
Posted by
Unknown on Friday, June 15, 2012
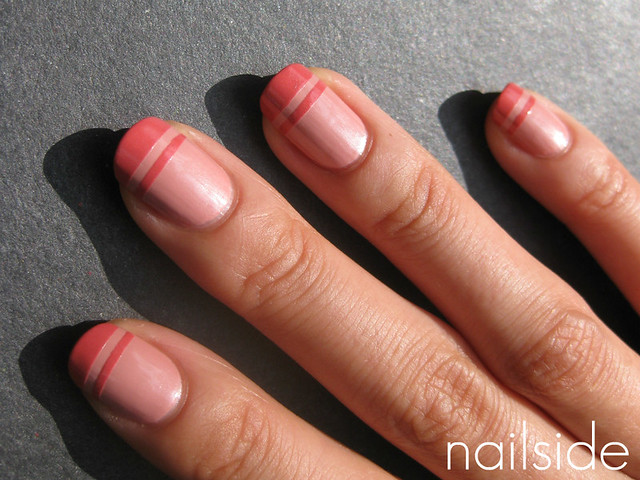
You probably won't ever see me wear red and pink together when it comes to clothing, I think they clash more often than not, but somehow I think they make a pretty cute pair on nails. In this mani I'm wearing NYC Uptown with red stripes that I freehanded on top with striper polish #36 from brand Janet. Don't these nails look a bit like candy? ^^ I can almost smell a strawberry scent when I look at them... Have a great evening!
Posted by
Unknown on Monday, March 19, 2012
Now that Spring is slowly starting to appear, I've noticed I like to wear pastels more often now. This week I'd been wearing China Glaze Lemon Fizz for a few days and when I got tired of it I spiced it up with a colorful tape mani. It wasn't my intention to make stripes though, after I did blue tips with China Glaze For Audrey I wanted to add geometric patterns in coral with Essence Think Pink. However, Think Pink was a lot sheerer than I thought, creating different tones of coral with the polish underneath. (The middle two colors are For Audrey and Lemon Fizz underneath Think Pink.) I was so pleasently surprised by this that I continued playing with this layering effect and ended up with these cheerful stripes. :-) Thanks for reading!
Posted by
Unknown on Monday, February 27, 2012
Hi guys! This China Glaze post is my first one featuring a polish from the Electro Pop collection. Since swatches of the collection can already be widely found on the web, I decided to post each polish seperately with the nail art I made with it. This way I can show you a little extra something besides the polish itself. :) Let's see some purple awesomeness then!
Gothic Lolita, my favorite of the collection, is a slightly dusty, medium purple. The formula of this creme was a tad thick but still I had no problems with the application. I was amazed by the opacity of this polish, it was almost a one-coater but I did two for complete coverage. (It is strange however, how my bottle of Gothic Lolita covers so well while I read others needed three coats.) What makes this polish so special, without a doubt is the subtle blue and pink shimmer. It's not that visible from a 'normal' distance, but it definitely gives everything more depth.
For the nail art I went for my good old black stripes, made with my trusty striper Ink from China Glaze, can't get enough of stripes! ;-) What do you think of it?
This product was sent to me for review.
Posted by
Unknown on Wednesday, January 18, 2012
So many things to post and so little time! At the moment I'm in the middle of my exams, hence the lack of posting this week. But I've got plenty of fun stuff to share with you once things are slowing down. :)
Between all the studying I did manage to create a look for the
OPI Nails 4 Life contest on Facebook.
My entry had to be inspired by one of the four Nicki Minaj outfits provided by OPI. I chose the outfit she wore to Victoria's Secret and didn't have to think long about my choice, I was crazy about the fun graffiti style in vivid colors. Different techniques were used to achieve this look: sponging for the background, taping for the striped accent nail and a lot of freehanding for the stars, hearts and Nicki's initial, which took a lot of time to make but turned out pretty cute. ^^
If you like my entry, you can vote for me through
this page. The prize is the entire OPI Nicki Minaj collection, plus an autographed copy of her Pink Friday album! Isn't that awesome?! I'm thrilled about the whole prize, so I'd appreciate it if you truly want to vote for my entry, though that's entirely up to you of course!
Did you participate in OPI's Nails 4 Life contest?
Posted by
Unknown on Saturday, November 26, 2011
Hello everyone! I hope you're all doing fine :-) I am, it's just a little hectic right now which is the reason of me posting so little lately. But I've got many new ideas to post once things slow down a bit, including tutorials and perhaps the start of my attempt on the 31 day challenge! I'm so looking forward to it! :)
For this post I'd like to share this birthday mani with you that I made for one of my dear readers. Since I am always occupied with other things that need to be arranged on my own birthdays, and usually just end up with a simple creme or glitter on my nails because of the lack of time, I decided to make something cute that's not too difficult or time-consuming to recreate. My accent nail, is (obviously) a birthday candle! I began with three coats of yellow (M67 by Make-Up Studio, a new brand!). Then I used a pink for the "cake". Once it had dried I added the candle, the little flame and wick, and there you have it :) On the rest of my nails I'm wearing China Glaze For Audrey. I painted the irregular stripes that I'm so into lately, with a white French manicure striper. What I love about those is how opaque most of them are, as opposed to regular white polishes. To complete the party look I added an iridiscent glitter (OPI Last Friday Night), it's sparkly and still reveals the stripe design underneath. And that's basically it! Happy Birthday! ^^

Posted by
Unknown on Thursday, November 17, 2011
Hello dear readers :) The
mani from yesterday looked a lot cooler in the pictures than it did in real life, certainly when there's not a sign of the sun to reveal at least some of my effort haha. So for today's post I have the updated version which I made by filling in a few stripes with Essence Bella. Doesn't it make a cute couple with
Almost Famous? :) Thanks for stopping by guys!
Posted by
Unknown on Wednesday, November 16, 2011
Hi everyone, for this post I have another striped mani to show you and it's bright! Not that my
last mani wasn't bright enough, but tonight I felt the sudden urge to wear yellow. And that's rare, but fine with me, because I can really use some brightness in these dark, cold days that we're lately having in the Netherlands! The yellow I used is
Color Club Almost Famous. I had to apply three coats for an even coverage and smooth surface. Normally I kind of avoid three-coaters, but for a yellow it's actually not that bad. Once again I used China Glaze Ink to make the stripes. In my head this mani looked better than it does in real life. Because I used a bright lamp in the pictures, the yellow is well visible. But in lower light, you can pretty much only see the stripes because the yellow kind of blends in with the tone of my skin, which looks weird haha. Maybe I'll add another color or something later, we'll see. Thanks for reading guys and nighty-night!
Posted by
Unknown on Monday, November 14, 2011


Like many other nail bloggers, I too have been a terrible nail biter in the past. It started at age five or six and it continued till I was about nineteen. Nail polish has always been a hobby, ever since I got my first bottle of nail polish (silver, holographic bar-shaped glitter!) from my aunts. But I almost never got to enjoy my polishes on my nails because I could never fully get out of the habit of biting them. But then I stumbled upon nail blogging world and rediscovered my love for nail polish, I pampered my nails, started doing nail art and now I'm talking to you guys ;-) Since two years I'm finally able to say that my nail biting days are pretty much over. But then I went to the movies (In Time)... 109 minutes later I got two little nubbins on each hand, what just happened?! Sigh. Guess the movie was even more exciting than I thought, lol. Anyways, that's why I couldn't post anything earlier than planned, my nubs were really too short to share them with the world, haha. And honestly they still are, but oh well, that's why I made some nail art to distract you all. Hah! My base color is H&M Blue My Mind, I love how bright the color is, a true eye-catcher. I'd say it's a darker periwinkle blue creme, the formula seems a bit thick sometimes, but it's still fine and needs the average two coats for full coverage. On top I did some free hand stripes in random sizes with my favorite striper polish China Glaze Ink. I really like these simple stripes, because they're so easy to achieve plus the vertical pattern can make shorter nails look longer, which I kind of need right now :P Hope you like it too and thanks for reading if you made it this far. Good night!
Posted by
Unknown on Tuesday, October 18, 2011
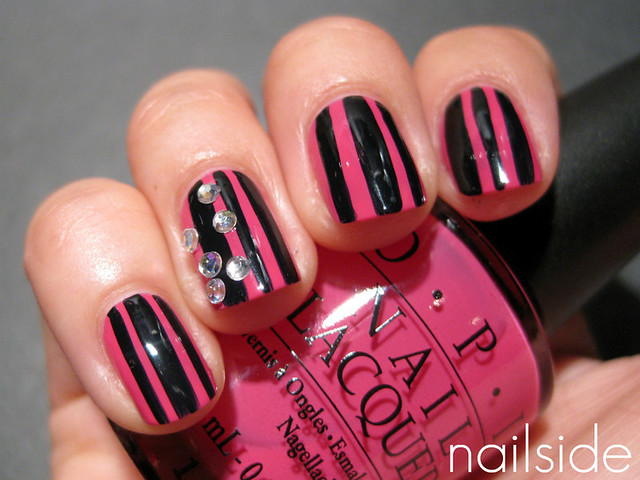
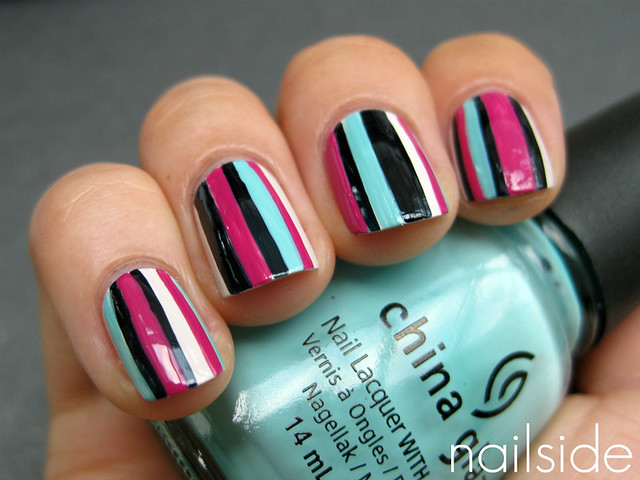
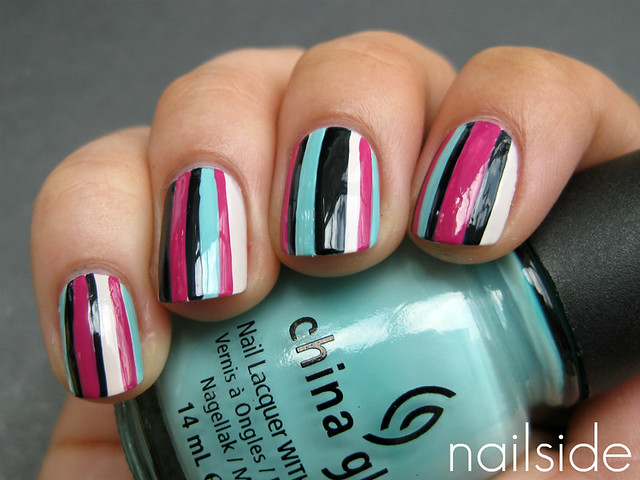
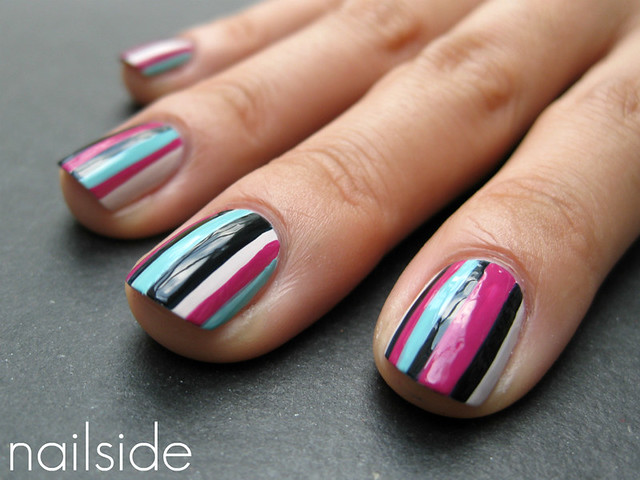
Hi everybody, today's post is something I made for a reader who'd requested a design for short nails. Two of her favorite colors were pink and black, so I made a simple stripe design with those colors. I love stripes, because they're never out of style in my opinion and also vertical stripes are a great way to make short nails seem a tad longer.
A stripe pattern with even-sized stripes is lovely, but it can be hard sometimes to make all the stripes exactly the same size. So I did a quick and easy-to-recreate pattern with random-sized stripes. The pink is OPI Don't Know Beets Me and for the stripes I used a China Glaze striper polish called Ink. (It's actually a very, very dark blue which looks pretty much black on the nails.) I just drew a few lines here and there, some bigger than others. And instead of actually drawing the stripes myself, I just let the whole length of the thin brush touch the surface while I pull it towards the tip, leaving pretty straight lines. So the brush does all the precise work for me ;-) Very easy and also nice with multiple colors, like I did
here a couple of weeks ago. Just use pigmented polish for the job so you won't have to go over the same spot over and over again.
At last I added a few rhinestones for fun. I hope you like this, Maja! :)
Posted by
Unknown on Monday, September 26, 2011
Hello everyone :) I hope you guys had a nice weekend like I did, we had some late summer weather the last couple of days and I enjoyed it very much.
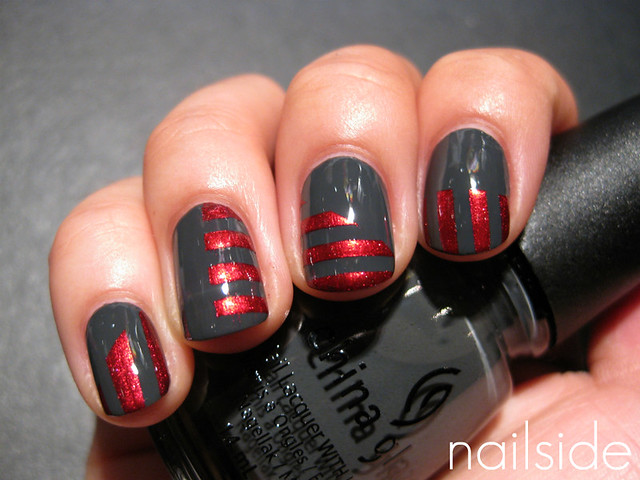
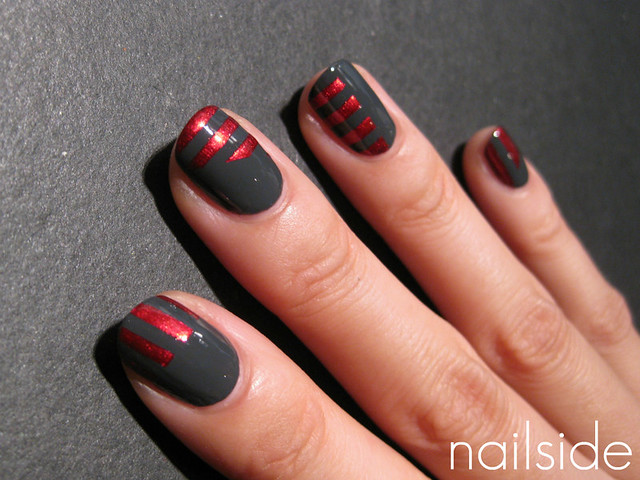
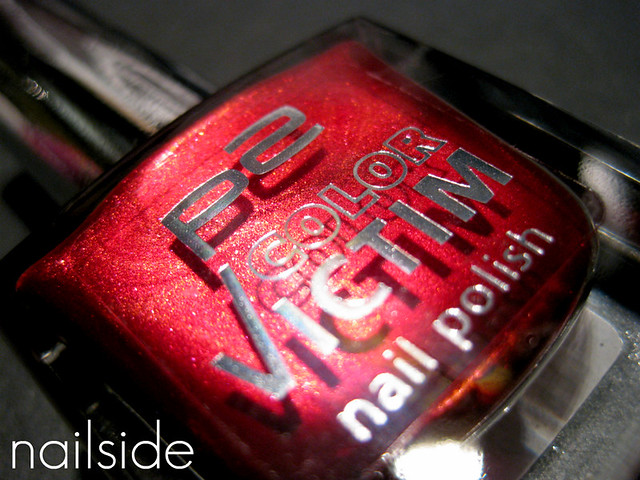
For this post I have stripey accents to share with you. I'm wearing one of my latest purchases, China Glaze Concrete Catwalk. I love the dark shade of grey and the polish applies like butter, just two smooth coats and you're done. Tonight I added the red, stripey accents, using tape and P2's Fever, I love this polish too! It's a deep, shimmery red, very glamorous and I love how it pops against Concrete Catwalk. Thanks for stopping by and have a great night!
Posted by
Unknown on Saturday, September 10, 2011
Hello guys! For this post I have some freehand to share with you. I just got my new set of striper brushes and couldn't wait to try them out. First I applied Orly Pure Porcelain (the pink-ish off-white) as base color and then I used the brushes to add the rest of the colors, which were
OPI Dim Sum Plum and China Glaze For Audrey. The 'black' you see is actually a very dark blue, China Glaze Ink, which comes in a bottle that already has a striper brush. The result looked alright, it just didn't really feel like 'me' :P Do you know that feeling? But it was fun to wear something different than I'm used to for once. What are your thoughts on this look?
Posted by
Unknown on Sunday, August 21, 2011
Hi everyone! Yesterday I showed you Sephora's
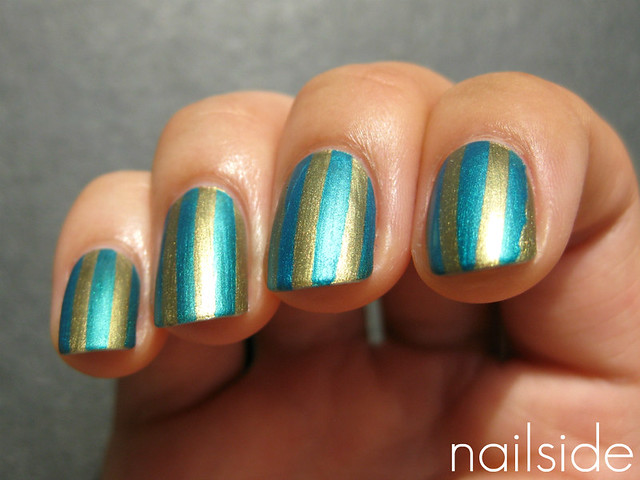
Diving In Malaysia. Though it was very special on its own, I already felt it needed to be spiced up :) So I used it for today's tape mani, just simple stripes in exotic colors. The pretty turquoise metallic is also a Sephora, called Summer In Bangkok. It's so extremely pigmented, but also stains your nails very bad, so it's a good thing I'm wearing several layers polish underneath. Because the glossy version looked a bit tacky to me, I mattified the look afterwards with Essence Matt topcoat. Hope you like it!
Posted by
Unknown on Sunday, August 14, 2011
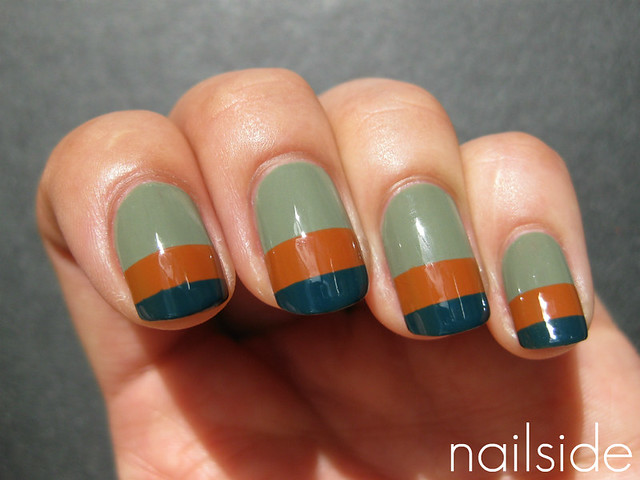
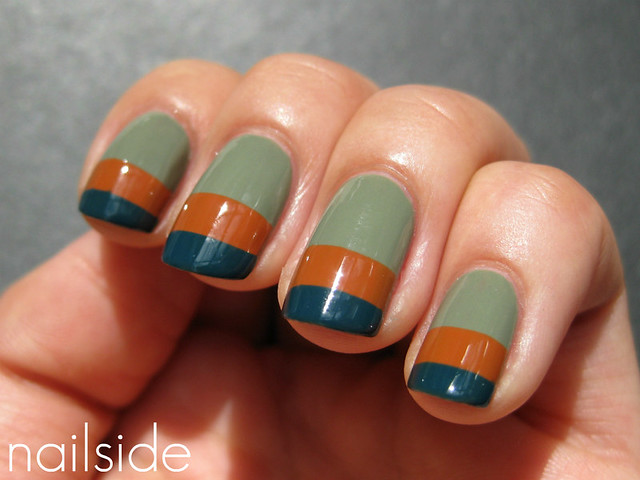
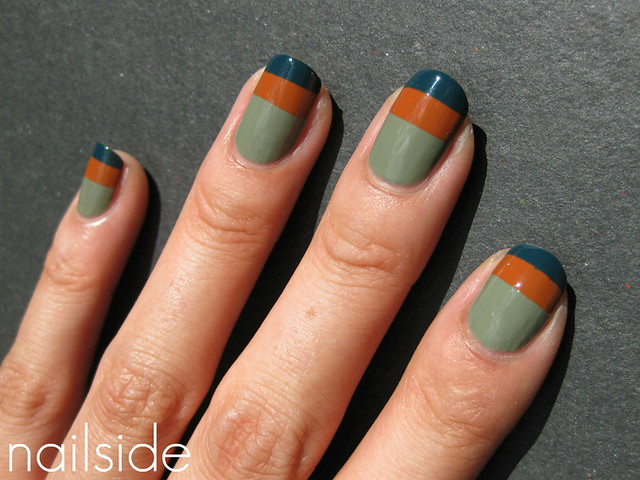
Hi guys! We've pretty much had fall weather all summer in the Netherlands, kind of a bummer, but after seeing all the bright and happy colors it's also nice to wear darker shades again. For this fall-appropriate tape mani I used three muted polishes from H&M:
Hunt Me Down, Looks Great On You and Moody Model. I started with two shades of Hunt Me Down which dried quite quickly, then added the orange and when that had dried the teal. I made this mani when my nails were a bit longer but if I wanted to do this on my current shorter nails I'd probably make the pattern vertically to make my nails seem longer ;) Are you also excited to wear fall shades again?
Posted by
Unknown on Saturday, August 6, 2011
Hi everyone! And a big welcome to my new followers, it's great to have you here! The other day I made a
cute version of the lightning bolt, I'd used two pinks from Essie for it: Lion Around and Your Hut Or Mine. I liked the two colors so much together, so I decided to make another tape mani with them. The simple stripe design I used is the same as the one from the
nautical funky French I did a couple of weeks ago. This time it's a lot girlier than most of my nail art and sure brings out all my inner girliness haha, but I like it :) Thanks for stopping by!
Posted by
Unknown on Saturday, July 30, 2011
Hi everyone! A short post today, since I'm still not feeling very well. A little while ago I showed you a beautiful green from Catrice,
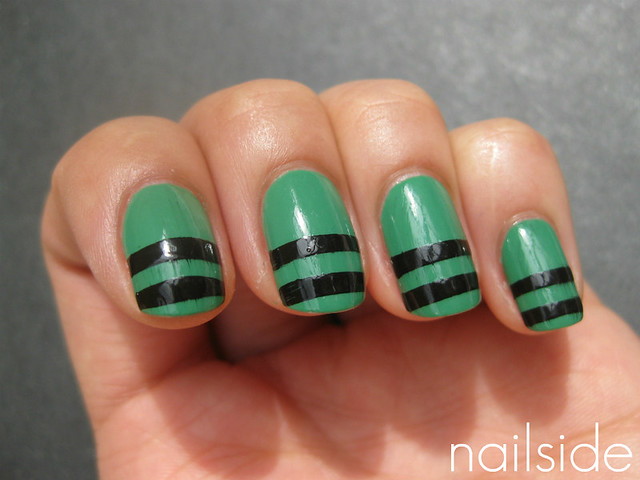
Run, Forest, Run! (LOVE the name and movie by the way). Today you can see how I upgraded the mani to a sporty French with a simple stripe design. The look instantly reminded me of sportswear, hence the name. The black polish I used for the stripes is Color Club Where's The Soiree?.
Posted by
Unknown on Wednesday, July 27, 2011
Hi everyone! I felt like doing something fun on my nails, using one of my favorite color combinations: pink and blue. The fuchsia I used is OPI Dim Sum Plum, an amazing polish. It's simply perfect and a one-coater, hooray! Since I'd planned to do some taping for my accent nails, I chose for a base color that's pigmented and with a short drying-time,
H&M Coral Summer. So shortly after Coral Summer dried, I was able to place tape strips on the surface to create the stripes, using Essence Chuck. Again a very pigmented color, really useful to do tape manis with, whether you're using it as your base or layering color. Guess that's about it, thanks for stopping by!
Posted by
Unknown on Friday, July 15, 2011
(This is a scheduled post, I'm on vacation!)
Good afternoon fellow nail polish lovers! For this post I have a nautical funky French to share with you. The day I made this I was wearing OPI Big Apple Red. To spice it up I added blue tips with
OPI Russian Navy. I really like this simple funky French, the tape design instantly adds that nautical vibe, reminding of the rims of sailor outfits. I used Russian Navy for the blue tips instead of a regular navy, because besides that it covers so well, its
shimmer with subtle red just gives it something special. Okay, not that anyone from my environment would notice, because nobody looks at nails from such an insanely short distance but me. (Even the BF makes fun of it somtimes: "Look at my naaails! See that subtle shimmer?! Look, you see?!", while holding his hand in an awkward claw pose in my face.) I guess having that super subtle shimmer on my nails is like wearing sexy underwear, nobody who'll notice but it makes you feel prettier and more self-confident. You know what I mean? ;-)
Enjoy your day!
Posted by
Unknown on Saturday, July 2, 2011
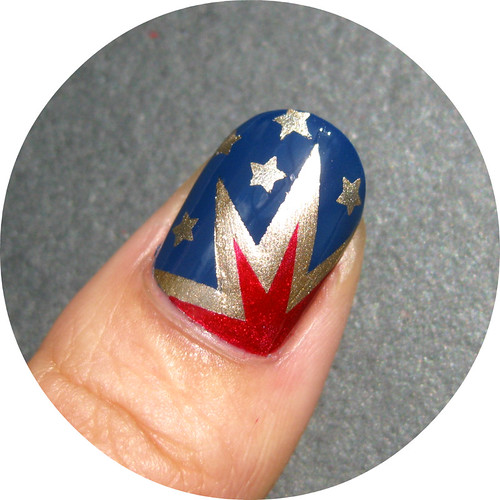
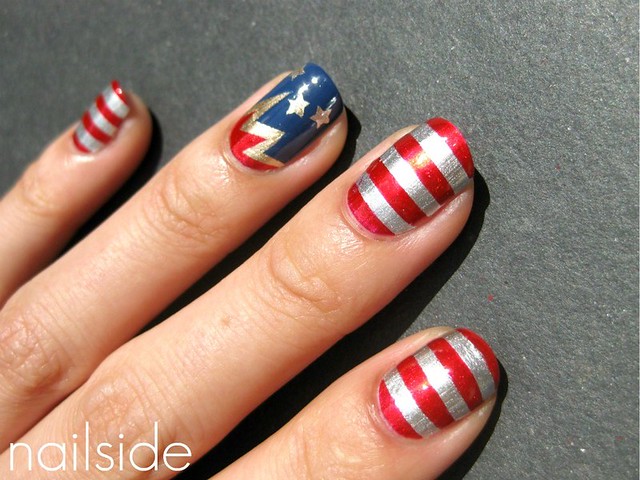
Hello everyone! For today's post I made 4th of July nails for my American readers. Holidays are always a fun theme for manis, so I was very excited to do some nail art for Independence Day, eventhough I do not celebrate it myself. The look is clearly inspired by the American flag, albeit with subtle changes, and tape was my #1 tool. I really couldn't have made the designs without it.
In total I used four different polishes: a red from Etos (Dutch drugstore), China Glaze's 2030 as my gold,
First Mate as the blue base color and for the white stripes I used China Glaze Millenium, which is a silver. I picked a silver instead of a white because I thought it would pop more. But also because I didn't want the stripes to look too much like a candy cane or a Christmas elf ;) As mentioned earlier, tape was my magic helper in this little project. I used it to create both the stripes and big star shapes, which are supposed to be stylized fireworks, can you tell? ;)
To make the firework shapes I basically used the same technique as the one for the
zigzag pattern, only I started at one corner of the tip, working my way back to the beginning of the nail (at the cuticles). So I started with the blue, then the gold on top and finally I applied the red. If you don't know what I'm talking about, just visit the
tutorial for the zigzag pattern and hopefully it will all make sense then :)
Of course our flag wouldn't be complete without stars, so I added those afterwards with a (nameless) stamping plate from Essence.
I hope you guys like my first 4th of July nails and that they may have even inspired you to make a cute mani for monday :) Thanks for reading!
Posted by
Unknown on Tuesday, April 19, 2011
Hey guys! Today I want to show you a new tape mani, in classic black and white. For the pattern I had to cut many tape strips, which wasn't the hard part, but removing all those things! And because I needed so much time to remove each strip one at a time, the black polish had already dried which made my lines less crisp. So I had to touch up a few lines afterwards. As the title of this post says: I love geometry! Geomatric patterns work so well on nails and often are even visible from a distance. The black and white I used are my favorites: Color Club Where's The Soiree? and Essence Stamp Me! White. Both are very opaque and fast-drying. Finally I used a coat of Seche Vite on top. And that's how this was done, see ya! :)
Posted by
Unknown on Thursday, March 24, 2011
Hi guys! Wow, I can't believe I already have over 100 followers! Thank you to each and every one of you for taking the time to read this blog and leave comments. I'm so glad that you're enjoying and inspired by my designs, because that's what this blog was created for. To the mani then!
So this time I decided to do a Hello Kitty mani, I had just received my free Hello Kitty imageplate from
Born Pretty and couldn't wait to play with it. I used the imageplate on my ring finger which was already covered in two coats of Essence Stamp Me! White, after that I just filled in the bow and her nose with a tiny paintbrush. The rest of my fingers all have a different cute design, which - combined - create a playful look. The base color is a warm baby pink from Hema, unfornately I don't have the number anymore but I do think it's still available. On my thumb you can see two little flowers, they're stickers I once bought in Hong Kong and though they're not meant for nails they stick pretty wel on the surface. On my index finger I painted the Hello Kitty bow with (how appropriate!) Kitty Queen from H&M's Hello Kitty cosmetics collection and a black creme. My middle finger is done with even sized tape strips and the red is 022 from DA, a local drugstore. And finally I used Konad's M79 on my pinky, 'cause polkadots and Hello Kitty are BFF's for life :)
Thanks for reading and take care!
 |
| Hello Kitty imageplate from Born Pretty |
 |
| Cute flower stickers! |