Showing posts with label hard candy. Show all posts

Hunger Games Nail Art

Posted by Unknown on Friday, March 23, 2012

I'm not entirely sure when I'll be able to see the Hunger Games movie in theaters, but I'm excited about it! I thought the books were fantastic, and the movies look like they will be amazing! So here is some Hunger Games Nail Art in honor of the movie's release.
 Before you read further, here is a disclaimer: This nail art was accomplished after a very long day. I had been awake since 5am and worked a 12 hour shift. I finished these nails at 9:30pm but my brain was fried and running off diet coke only, so I apologize in advance that they are not more perfect. Lol

My left hand ring finger features the "Mockingjay." Yes mine looks a bit wonky and inbred, but whatever....
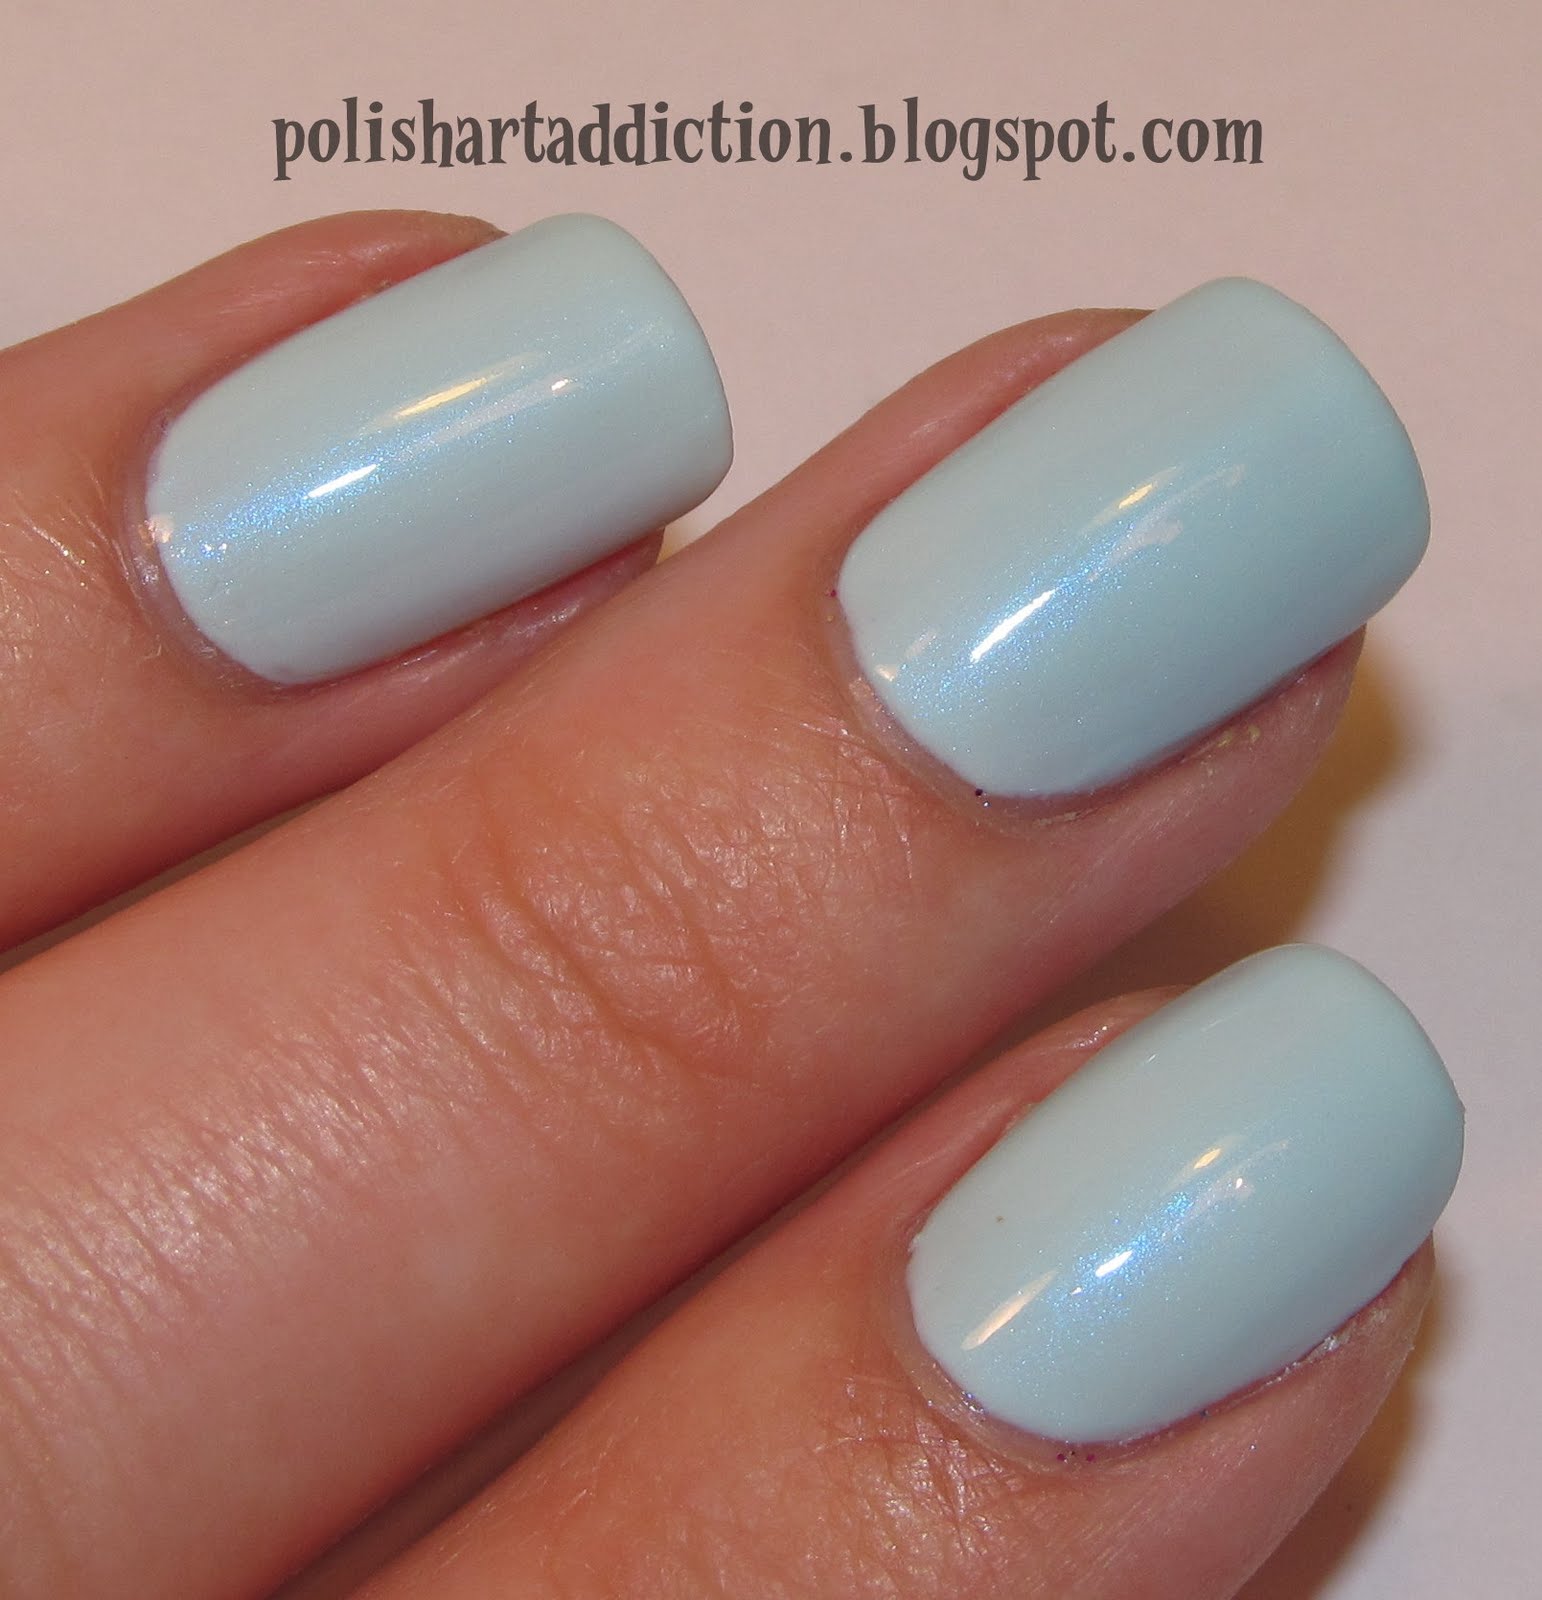
 The other nails are China Glaze Stone Cold from what else? But the Hunger Games collection.

My right hand ring finger features some flame nail art because by now you might have heard.... In the book, Katniss' nails are painted with flame nail art for the opening ceremonies of the Hunger Games.

I'll show the exact polishes I used below, but I topped the flames with Essie Shine of the Times because those flakies have always made me think of fire embers. It was difficult to capture in a picture, but it really adds a special touch.

Polishes used:
Sinful Colors Black on Black
China Glaze Stone Cold
Color Club Gingerbread Man

for the flames:
China Glaze In Awe of Amber
Hard Candy Lava
Sinful Colors Let's Meet
(not pictured Essie Shine of the Times)
Happy Hunger Games Everyone!
Just on a side note, I'm considering buying this shirt. It's hilarious.
More aboutHunger Games Nail Art

Live Long & Prosper!

Posted by Unknown on Friday, January 20, 2012

That's right! Star Trek Nail Art featuring Spock!
I'm not a trekkie by any means, but my dad has always liked the series. I liked the most recent movie simply because of the eye candy....
Here, I couldn't resist doing the Vulcan hand salute. ;)

I used Hard Candy Wicked for the black nails. Then Sinful Colors Snow Me White on the accent nails. Black acrylic paint for the emblem and face of Spock.

My research tells me that this symbol was their badge on the uniform. It identified them as members of the Enterprise in the 23rd century (the symbol changed slightly throughout the series). The star burst signifies a command position.

Then Spock's face! I'm so proud of this because it's the first time I've successfully been able to paint a face that's not a cartoon! And you can recognize it! I patted myself on the back for this one. :) I hope you like it too!

More aboutLive Long & Prosper!

Blue V-French

Posted by Unknown on Friday, September 16, 2011

This is just something simple that I did the other day. It's actually my first real "success" when using scotch tape in my manicures. Usually I'm too impatient and pull up the base polish along with the tape. I was patient and took my time, and it worked!

Here's how I did it. 
2 coats of Essie Coat Azure (one of my favorite polishes of all time!)

Tape off the "V" shape and painted the tips with Hard Candy Sky, one thick coat. Removed tape.

Striper brush and Essence Deep Blue Sea to outline.

Add a clear rhinestone to the point.
 Bottle shots:

Hehe as I type this I realize what this reminds me of.... 
Betty's dress in my previous Flintstone nail art! Original post here.

More aboutBlue V-French

Skies Above

Posted by Unknown on Wednesday, September 7, 2011

I was wearing Hard Candy Sky and thought how appropriate to add clouds for french tips. :) I think they look quite sweet. Sinful Colors - Snow Me White for the tips. Maybe I should have included a little bird as an accent nail?

I just used a short nail art brush to freehand the clouds.

I have to include a few pictures of Sky by itself because it's simply divine. This is one of the polishes that got me started with a polish obsession. I saw a light blue on Lauren Conrad last year (in a magazine! never seen her in person) and I hunted on the internet until I saw this one and picked it up at Walmart ASAP.


I even got two compliments on it today from separate people in the mall today while shopping.
More aboutSkies Above

Hard Candy Mr. Wrong

Posted by Unknown on Wednesday, August 24, 2011


Hi everyone! I have a favor to ask of you...if any of you happen to see Wet N Wild's LE Halloween polish collection On the Prowl PLEASE tell me! I am very anxious to find some of those beauties! Thank you in advance! :)

Today is a quick swatch from Hard Candy. This is Mr. Wrong. It's a dusty purple with loads of gold shimmer/glitter. It reminds me of Zoya Faye in the way that the gold shimmer sort of takes over the color. At first I really didn't like it. So I swatched it again a few days later just to give it a second chance and I liked it a lot better that time around. Weird. Moral of the story? Give it a second chance! 

This polish seemed to change in the light ... that's what makes these pics a little inconsistent when it comes to color, but it's all the light, no editing. We tried to do stamping on this polish and nothing looked good...couldn't find a color that was a good combo...so no nail art. :(


The formula was good in 2 coats, no complaints and over all a great product! You can buy Hard Candy at Walmart for $4.  Do you guys like this shade? Do you know of any dupes for it?


*This product was sent to me for review in exchange for my honest opinions.
More aboutHard Candy Mr. Wrong

Hard Candy Breakup Part II

Posted by Unknown on Saturday, August 20, 2011

Hey everyone! I think this is a record for me posting this late in the day. We took more family pics today, only this time with my parents and siblings. We went to the Opryland Hotel to take them and had a good time! I hope you readers had a good Saturday as well!

So in my previous post  reviewing Breakup, I said I wasn't gonna do a full mani with it but I lied! I couldn't resist the matte white/glitter combo. So here is what we ended up with (this is before matte topcoat):


Color used- Sinful Colors Snow Me White, Color Club Bubble Gum Yum and Hard Candy Breakup
Dustin worked his magic and used scotch tape for the french tip.


And here it is matte:


What do you ladies think? Simple, but fun right? And I am so happy with how the matte looks!

Also, just as an FYI- you can now follow me on Twitter @mynailgraffiti. I use it predominantly to post about giveaways, but I am trying to branch out a little more.

AND I recently added an option to subscribe by email in the right sidebar. 

It think that's it! Have a great night! <3
More aboutHard Candy Breakup Part II

Hard Candy Breakup

Posted by Unknown on Thursday, August 18, 2011

Hi everyone! I am finally getting around to posting today... I was with my BFF since first grade today. I never get to see her anymore :(. She took some family photos for us and I am so excited to see how they turn out! We also bonded over our mutual love for cosmetics. <3

So today I am showing you Hard Candy Breakup. Besides their matte topcoat, this is my first time using Hard Candy polish. This is a glitter topcoat and it's super pretty! I haven't come across anything like this before, but I think the China Glaze 2011 re-release of Snow Globe is slightly similar. 

All the Hard Candy colors come with cute rings that match the shade. 


Rather than doing a full mani, I wanted to show what this glitter looks like over different colors. Although, I am wondering if that was pointless because I am not sure how available this shade is anymore.

Regardless- here is the first batch I tried Breakup over. L-R China Glaze 3-D Fantasy, Color Club Pucci-licoius, Wet N Wild Creme Black, and Color Club Get Your Lem-On.


And with Breakup on top:


And since I love glitter with a matte topcoat I slapped some on before taking this off. I used Hard Candy Matte-ly in Love.


And the second set: L-R Sinful Colors Snow Me White, Nopi My Lifesaver, Dr.'s Remedy Bold Baby Blue, Color Club Yum Gum.


With Breakup...LOVE these combos minus the blue...I don't think this looks that great with shimmer.


And again matte- I am so loving the white with matte glitter!


You can find Hard Candy at Walmart for $4. Also be sure to like their Facebook page because they do have the occasional giveaway! So which combo do you ladies like best?

*Hard Candy was sent to me for review in exchange for my honest opinions.
More aboutHard Candy Breakup

Summer Lemons + Tutorial

Posted by Unknown on Saturday, June 4, 2011

I found inspiration for these here courtesy of "The Illustrated Nail". I just stumbled on their tumblr account, and it's some really cute stuff. These lemons just screamed summer, so I had to recreate them. I wanted to do them on all of my nails, but ran out of time once I saw how many steps were involved. Accent nails it is! I broke it down in a tutorial for you, so I hope it helps anyone who recreates them.

I started with a solid mani of Sally Hansen Insta Dri Rapid Red - this is two coats.

Then paint the basic shapes of the lemons. I used WnW Black Creme polish with a touch of thinner, so that it flows easily.

Then add the basic outlines of the leaves and stems. Also done with black polish.

Paint the bodies of the lemons. I used Hard Candy Splendid polish. Get close to the edges, but leave enough black to form a slender outline.

Then painted in the green of the leaves and stems. I used green acrylic paint for this step, only because I didn't have the shade of green I wanted in polish form. Also paint a white highlight along the body of the lemon, I used Sally Hansen Insta Dri Whirlwind White.

Add a small black line along your white highlight. This makes it look more 3d. Also add a black * shape where the dimple of the lemon is.

Add a tiny white dot to the center of the * you made, with white polish.

I moved the accent nails to my index and pinky for my right hand.
What do you think? I really like it a lot!!!
If anyone uses this tutorial to make them, please show me! I'd love to see.

More aboutSummer Lemons + Tutorial

Nail Sponging with Sinful Colors Neons

Posted by Unknown on Tuesday, May 24, 2011


Good morning (almost afternoon)! This nail look is a fun collaboration between mine and Dustin's ideas. I have taken pics for each step of this look so maybe you can get some inspiration for yourself! :)

We started with 2 coats of Sinful Colors White on White, which is a really good, non-streaky white!

Next, Dustin layered on Sinful Colors Neon Melon on top. Layering a neon over white really helps ease the application/streakiness. Can I just say how much I love Neon Melon? It's in your face and super bright and it really brings out the dark tones in my skin. I can't wait to wear this on it's own!


This is where Dustin's art skills come in...I am sure I could master this with some practice, but when I tried to do it I muddied the colors up too much. So here is Sinful Colors Summer Peach and 24/7 sponged on top of Neon Melon. I would wear this look on it's own too because it's so fun and bright!


Finally, we chose the perfect stamp to compliment the sponging. This is Bundle Monster plate 205. I topped the mani off with Hard Candy's matte top coat.


You can purchase Sinful Colors at Walgreens, or directly from their site (but it has been down for a while now). I got the Hard Candy matte topcoat at Walmart.  Thanks for reading and have a great day! <3
More aboutNail Sponging with Sinful Colors Neons